
Small Laundry Room Organization: 21 Space-Saving Ideas
Organize a tiny laundry room with 21 practical ideas for closets, walls, narrow gaps, stacked machines, drying space and no-drill rentals.
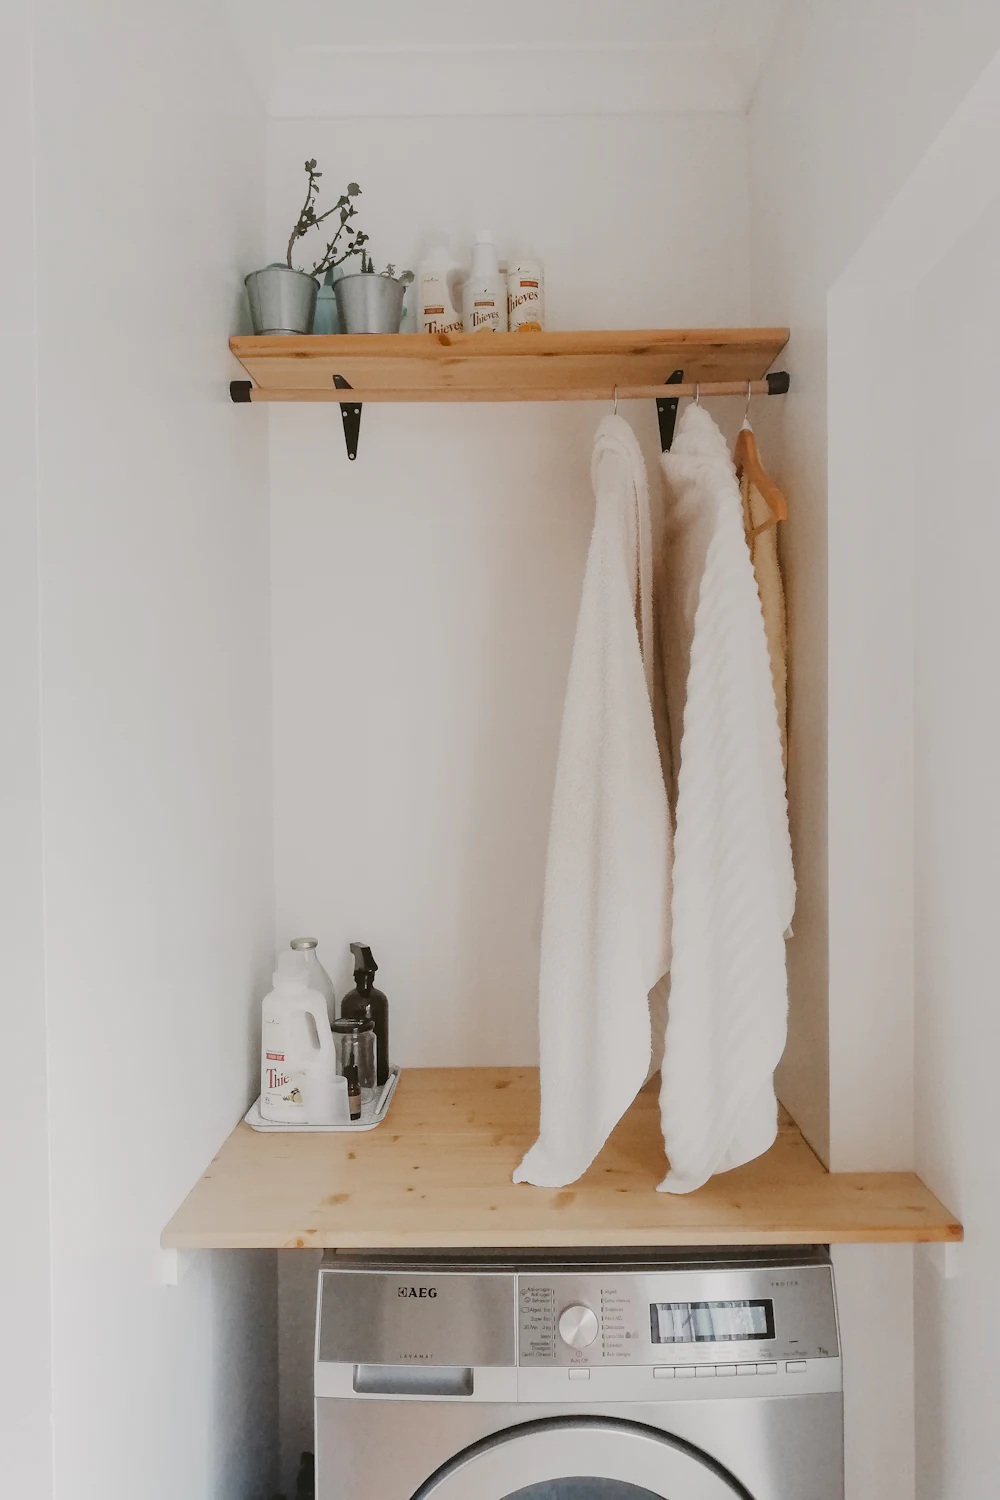
The best small laundry room organization ideas depend on the layout you actually have. A laundry closet with stacked machines needs a different system from a narrow room with side-by-side appliances, and a rental needs storage that can leave with you. Start with the machines, doors, hoses, vents, and the way wet and dry clothes move through the space; then use the remaining walls, door, and gaps.
This guide groups 21 ideas by real constraints rather than presenting a random list. You will find solutions for laundry closets, top-load and front-load machines, narrow gaps, rooms without cabinets, and no-drill rentals. Each idea is designed to protect access and workflow instead of simply fitting more products into the room.
Measure the Laundry Area Before Adding Storage
A shelf that fits the wall can still stop a top-loader lid from opening. A narrow cart can still pinch a dryer vent. An over-door organizer can still prevent a closet door from closing. Take measurements with appliance and room doors fully open, and follow the installation and clearance requirements in each appliance manual.
- Machines: width, depth, height, control location, lid or door swing, and any required top or side clearance.
- Connections: position of outlets, plugs, water valves, drain hose, supply hoses, and dryer duct.
- Gaps: measure beside and between machines at the floor, middle, and top.
- Walls: usable width and height after doors, switches, shelves, and service access are considered.
- Door: thickness, top clearance, handle position, and the space behind it when open.
- Workflow: where dirty laundry arrives, where it is sorted, where clean items are folded, and where damp items dry.
| Layout | Main constraint | Best first storage move |
|---|---|---|
| Laundry closet | Doors, low ceiling, little side access | One measured shelf plus door storage |
| Stacked washer/dryer | Narrow side gaps and high reach | Slim side tower or accessible wall caddy |
| Side-by-side front loaders | Unused horizontal surface | Approved worktop or shelf above |
| Top-load washer | Lid and controls need clear space | Higher wall shelf or side storage |
| Rental with no cabinets | Limited permanent mounting | Freestanding rack, over-door storage, or cart |
Ideas for a Laundry Closet
1. Install One Shelf Above the Machines
One well-positioned shelf is often more useful than several cramped levels. For a top-load washer, open the lid completely and measure from its highest point. For stacked or front-load machines, preserve access to controls and any space required by the manufacturer.
Use the shelf for a small daily basket and lighter backups. Avoid placing heavy containers where they must be lifted down from above shoulder height.
2. Use Shelf Risers for Short Bottles and Small Boxes
If a shelf has unused height, a freestanding riser can separate daily products from refills. Place frequently used bottles on the lower level and light, occasional supplies above. Check that the riser is stable and that tall bottles can be removed without hitting the shelf above.
Do not create so many levels that labels disappear. Visibility is more valuable than squeezing in one extra bottle.
3. Group Supplies in Open-Top Baskets
Create broad categories such as wash, stain care, delicates, and cleaning. Open-top baskets make a shelf easier to scan and let you pull down a complete category. Choose washable or wipeable materials because laundry areas can be humid and prone to drips.
Labels should describe the job, not the product brand. This keeps the system useful when products change.
4. Use the Back of the Door
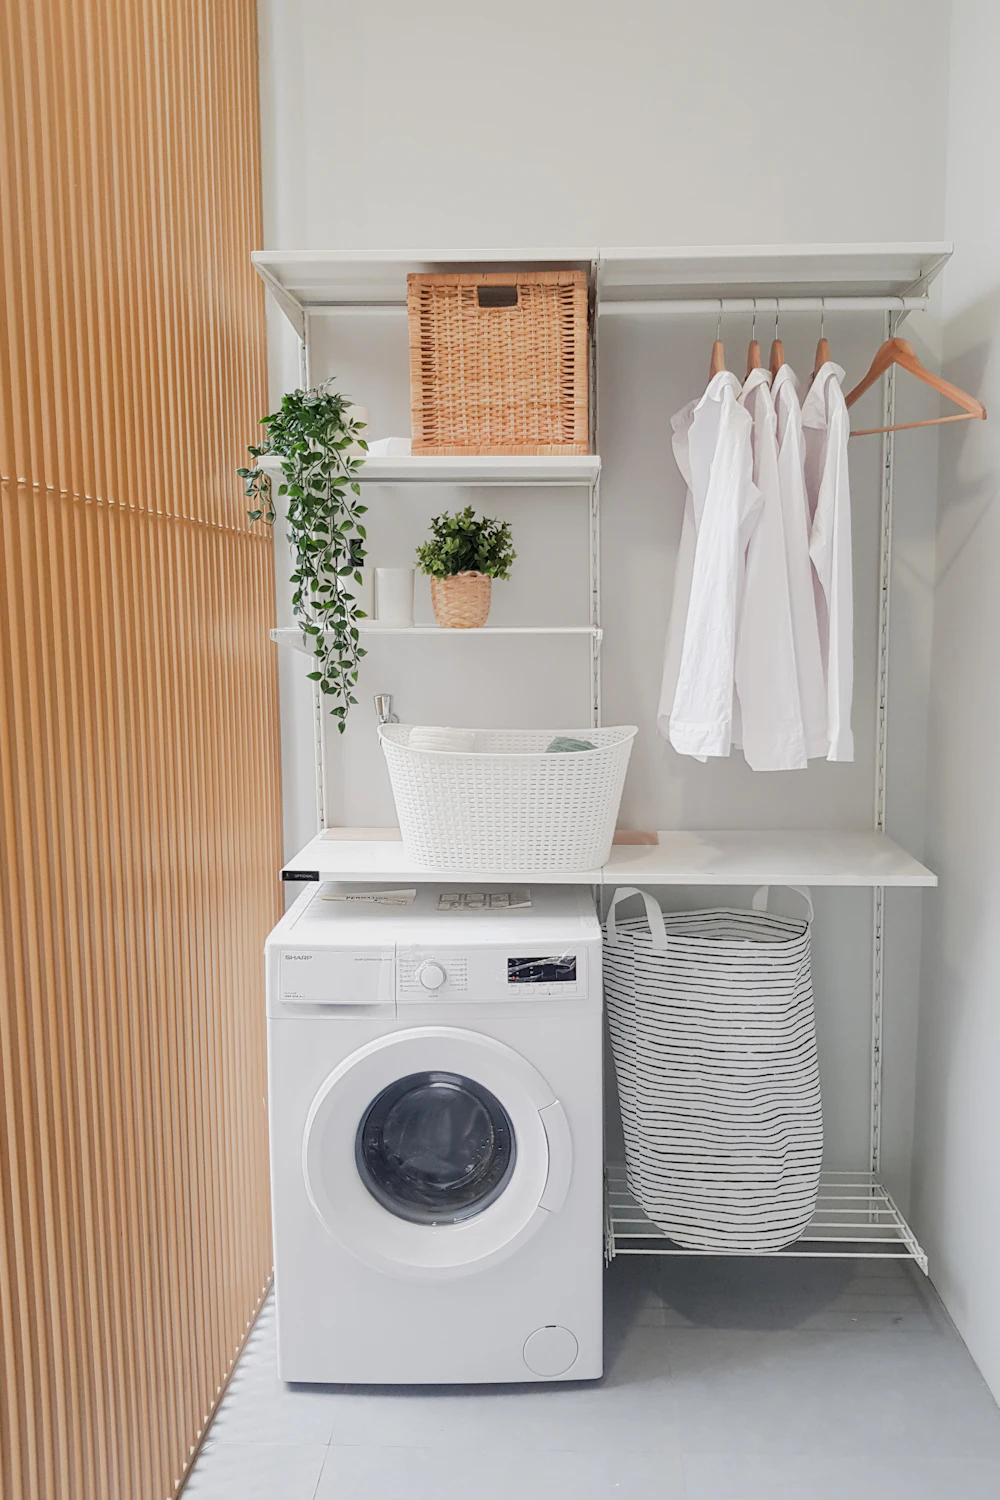
An over-door rack can hold lint rollers, mesh wash bags, clothespins, ironing accessories, or other lightweight supplies. Measure bracket thickness and top clearance so the door still closes without rubbing. Keep bulky items shallow enough that they do not collide with appliances or shelving.
If the room is a rental, over-door storage is often simpler than adhesives. Our renter-friendly wall-storage guide explains how to compare no-drill methods by surface, load, and removal risk.
5. Add a Slim Tower Beside Stacked Machines
A narrow freestanding tower can use a side gap without requiring shelves above head height. Measure the gap at several points, allow room to pull the unit out, and keep hoses, valves, and vents accessible. A tower with closed lower storage can hide backstock while an open upper shelf holds daily items.
Reject any unit that makes servicing the machines difficult. In a very tight closet, a portable caddy may be better than permanent furniture.
6. Choose a Hamper That Folds or Collapses
A rigid hamper can consume most of a laundry closet’s floor. A folding hamper, hanging laundry bag, or soft divided hamper can be stored flat when empty. Match the hamper to the amount you can actually wash in one cycle so laundry does not build into an oversized holding zone.
Place it where it will not block machine doors, the closet door, or the path used to carry clean laundry out.
7. Create a Small Home for Pocket Finds
Place one shallow tray or wall cup near the washer for coins, hair clips, receipts, and other pocket items. This prevents small objects from spreading across the machine top. Empty the container during the weekly reset rather than allowing it to become permanent storage.
Ideas for Side-by-Side Machines
8. Add a Worktop Above Front-Loaders When Approved
A properly supported surface can create a folding station over side-by-side front-loading machines. Confirm the appliance and worktop installation requirements; do not simply rest a heavy board where vibration, heat, or servicing makes it unsafe. The surface should remain stable and allow access when machines need to be moved.
Keep the worktop mostly clear. A folding station covered in decorative baskets stops functioning as a work surface.
9. Use a Narrow Rolling Cart in a True Side Gap
A slim cart can hold daily detergent, stain remover, clothespins, or cleaning cloths. Measure the gap at floor, middle, and top, account for baseboards, and choose a cart slightly narrower than the smallest measurement. Keep it away from heat and do not let it press against hoses, cords, or the dryer duct.
For more guidance on measuring a small rolling unit, see our tiny-kitchen storage guide; the same fit-first principle applies even though the room is different.
10. Mount a Shallow Shelf Above the Worktop
If the wall is suitable, a shallow shelf can hold the daily caddy while leaving folding space below. Set it high enough that you can fold comfortably, but low enough to reach without climbing. Use suitable fixings for the wall and expected load.
On an open shelf, limit the number of products. Backstock can live in a basket or a less prominent cabinet elsewhere.
11. Sort Laundry at the Point of Use
A two- or three-section hamper prevents a floor pile from becoming the sorting system. Choose categories that match how you wash—perhaps lights/darks, everyday/delicate, or adult/child—not categories copied from someone else’s routine.
If a divided hamper is too wide, use two tall narrow baskets or stackable ventilated bags. The system should fit the room and the actual wash routine.
12. Keep a Portable Stain-Care Caddy
Store the few stain-care items you genuinely use in one handled caddy. It can move to a sink or work surface and return to the shelf as a unit. A portable caddy is especially useful when the laundry area has no counter or the products must be kept in a safer locked location.
Keep every product in its original labelled container and never mix cleaning products.
13. Use Magnetic Storage Only on a Compatible Surface
A magnetic holder on an exposed appliance side can hold lightweight items such as clothespins, a lint roller, or empty mesh bags. Test whether the surface is magnetic and follow both the organizer and appliance guidance. Keep magnets clear of vents, controls, heat, and areas needed for service.
This option works best when the side of the machine faces the room rather than a narrow walkway.
Ideas for a Narrow Laundry Room
14. Choose Tall, Shallow Storage Instead of Deep Cabinets
Deep furniture can reduce circulation and make appliance doors harder to use. A tall, shallow unit provides vertical storage while protecting the walkway. Before buying, open every door fully and stand where you normally load and unload the machines.
Tall freestanding furniture must follow the manufacturer’s stability and anti-tip instructions. If anchoring is required but not permitted, choose a lower and wider unit instead of ignoring the requirement.
15. Add a Wall-Mounted Folding Drying Rack
A folding rack provides air-drying space without occupying the floor when closed. Mount it on a wall that can support the intended load and place it where damp clothing will not block doors, controls, or the walkway. Consider how water may drip and whether the nearby surface tolerates moisture.
If permanent installation is not appropriate, use a compact freestanding rack that folds flat behind a door or beside a cabinet.
16. Use a Retractable Clothesline for Occasional Drying
A retractable line can span an alcove or narrow room and disappear when not in use. It needs solid mounting points and enough clearance that wet clothes do not touch electrical equipment or obstruct circulation. Follow the rated load and installation instructions.
This works best as occasional drying space, not as a permanent line left across a busy route.
17. Store the Ironing Board Vertically
A wall holder, over-door bracket, or narrow slot beside a cabinet can keep an ironing board off the floor. Measure the board when folded, including the widest foot, and check that it can be removed without hitting the ceiling or machine.
If you use the board rarely, consider storing it with other occasional household tools rather than giving it prime laundry-room space.
Renter-Friendly Ideas When There Are No Cabinets
18. Use a Freestanding Over-Appliance Rack
A rack that bridges the washer or dryer can provide shelves without wall mounting. Measure the machine depth, hose positions, lid movement, controls, and any required clearances. The rack should stand independently and must not rely on the appliance for stability unless the manufacturer explicitly designs it that way.
Place heavy items low and keep high shelves for light supplies. Check and retighten the frame as directed because appliance vibration can reveal instability.
19. Fit a Tension Rod Inside a Suitable Alcove
A tension rod can hold empty hangers, lightweight drying items, or spray bottles by their triggers when the surface and product are suitable. Install it between solid parallel surfaces, respect the rated load, and position it so a fall would not damage an appliance or injure someone.
Do not use a tension rod for heavy wet laundry unless the product is specifically rated and installed for that purpose.
20. Reserve Adhesive Hooks for Very Light Accessories
Adhesive hooks can hold empty mesh bags, a lint brush, or lightweight cloths on a compatible smooth surface. Check the lease, paint condition, humidity limits, preparation steps, and removal instructions. “No drill” does not guarantee that every finish will remain undamaged.
For valuable, heavy, or breakable objects, use a more secure storage method suitable for the load.
21. Keep One Mobile Laundry Caddy and Reset It Weekly
If permanent storage is limited, keep daily products in one handled caddy that moves between a safe storage location and the machine. Return it after each wash so the machine top and floor stay clear. Once a week, remove empty packaging, return stray items, wipe drips, and empty the pocket-find tray.
A simple portable system is often more sustainable than forcing a cabinet into a room that cannot comfortably hold one.
What to Store Where
| Item | Best location | Reason |
|---|---|---|
| Daily detergent | Reachable shelf or portable caddy | Easy access without covering the machine |
| Refills and backstock | Closed, lower, or less prominent storage | Keeps the daily zone small |
| Mesh bags and clothespins | Door organizer, hook, or open basket | Lightweight and easy to group |
| Pocket finds | One shallow tray | Stops small items spreading |
| Damp clothes | Drying rack or properly installed line | Keeps them separate from clean, dry laundry |
| Hazardous laundry products | Original containers in secured storage | Supports label visibility and safer access control |
A 20-Minute Small Laundry Room Reset
- Clear the machine tops and floor. Return products, clothing, and pocket finds to their proper homes.
- Remove empty or unused supplies. Keep only what belongs to the laundry process.
- Group what remains by task. Wash, stain care, drying, ironing, and cleaning are enough for most spaces.
- Place daily supplies first. Keep them visible and reachable without climbing.
- Check access. Open appliance and room doors, reach controls, and confirm that hoses, vents, filters, outlets, and shutoffs remain accessible.
- Identify one bottleneck. Choose the next organizer only if it solves that specific problem.
If short maintenance sessions work better than occasional overhauls, pair this reset with our 15-minute cleaning routine for small homes.
Frequently Asked Questions
How do I organize a very small laundry room?
Begin with one reachable supply shelf or caddy, one hamper that fits the wash routine, and one solution for air-drying. Use the wall or door only after checking clearance and load. Keep the floor and machine doors clear.
What can I put between a washer and dryer?
A narrow rolling cart may work if the measured gap, appliance instructions, ventilation, hoses, cords, and service access allow it. Choose a cart slightly narrower than the smallest gap measurement so it can move without scraping or pinching anything.
How can I organize a laundry room with no cabinets?
Use a freestanding over-appliance rack, measured wall shelf, slim cart, door organizer, or mobile caddy. In a rental, prefer reversible solutions and check the lease before drilling or applying adhesive products.
Can I store things on top of the washer or dryer?
Follow the appliance manual. Even when the surface may be used temporarily, keep controls, ventilation, lids, doors, and service access clear. A mostly empty machine top is easier to clean and less likely to become a permanent pile.
Small Laundry Room Organization: The Takeaway
Small laundry room organization is successful when the room supports the complete cycle: dirty clothes arrive, loads are sorted, supplies are reachable, damp items can dry, clean items can be folded, and everything resets without blocking the machines. Choose ideas for your layout, measure with doors open, preserve safety and service access, and keep the system simple enough to use every week.
For more space-saving ideas across the home, explore our smart storage solutions for small apartments.