
5 Practical Ways to Air-Dry Laundry Indoors for Better Results
Compare five indoor drying systems that use no permanent floor space, with guidance on mounting, load limits, airflow, humidity, condensation, and renter-friendly placement.

The best small space laundry drying solutions without permanent floor use are a fold-down wall rack, ceiling-mounted airer, retractable indoor clothesline, over-door rack, or a removable system designed for a shower area. Choose by mounting surface, wet-laundry weight, reach, and ventilation—not by advertised line length alone. Follow the product’s exact load and installation instructions, keep damp fabric away from heaters and electrical equipment, and manage humidity with airflow, exhaust ventilation, or a dehumidifier when needed.
A drying system saves space only if it is easy to open, safe to load, and simple to put away. A wall rack that blocks a door or a ceiling airer that is difficult to reach creates a new problem. This guide compares the main zero-floor-space options and shows how to place them without encouraging condensation or overloading the hardware.
Choose small space laundry drying solutions by room, load, and mounting surface
Start with the garments you air-dry most often. A few workout tops need less support than wet towels or a full machine load. Weighing or capacity claims are product-specific, so compare the expected wet load with the manufacturer’s stated limit and installation method. Never assume that a long rack automatically carries a heavy load.
Next, examine the mounting area. Locate doors, windows, lights, vents, pipes, outlets, sprinkler heads, and appliance doors. A folded rack still needs room to open, and a loaded line will sag more than an empty one. Renters should check the lease and obtain permission before drilling into walls or ceilings.
| Solution | Best fit | Floor space while drying | Installation | Renter fit | Main limitation |
|---|---|---|---|---|---|
| Fold-down wall rack | Clear wall in laundry room or bathroom | None | Usually drilled into suitable support | Only with permission in most rentals | Needs wall and swing-out clearance |
| Ceiling-mounted airer | High ceiling with safe access | None | Permanent, often best handled by a qualified installer | Usually poor | Ceiling structure, reach, fixtures, and load control |
| Retractable clothesline | Occasional small or mixed loads across a short span | None | Most secure versions use wall fasteners | Possible with permission | Line tension, sag, and a visible span while in use |
| Over-door rack | Light garments and small batches | None | No drill on a compatible door | Good | Can affect door closure and hinges |
| Shower-mounted or shower-rail accessory | Items likely to drip | None in the living area | Varies; must be designed for the support | Often good when removable | Humidity and limited shower access |
| Wall-mounted retractable bar | Hangers and shirts in a narrow zone | None | Usually drilled | Permission typically needed | Short projection and product-specific load |
Use a fold-down wall rack when you have a clear, supported wall
A wall-mounted rack folds close to the wall between loads and opens only when needed. It suits a laundry room, bathroom, or utility alcove with a clear wall section and enough front clearance for damp garments. Slatted designs support folded-over items, while bar designs work with hangers when the manufacturer permits them.
Installation is the deciding factor. Wet textiles can be much heavier than dry ones, so the mounting surface and fasteners must match the manufacturer’s instructions. Do not rely on a generic drywall anchor recommendation or adhesive strips for a rack intended to carry wet laundry. If the wall may contain plumbing or wiring, use a qualified installer.
Place it where garments can hang freely
Check the full open position, not just the folded depth. Sleeves and hems should not rest on the washer controls, a toilet, or the floor. Keep the rack away from a stove, space heater, radiator, or any location prohibited by the product instructions.
If the only wall is above the machines, verify the appliance door swing, controls, ventilation, and service access first. The broad small laundry room organization guide can help resolve the rest of the room without turning the drying zone into general storage.
Consider a ceiling-mounted drying rack only when access is safe
A ceiling airer or pulley rack can keep wet laundry above the working zone. It makes the most sense in a room with a sufficiently high ceiling, a clear lifting path, and a suitable structural mounting point. It is not a universal fix for a low-ceilinged apartment or a room crowded with lights, fans, sprinklers, or ducts.
Use the exact mounting hardware and load limit supplied by the manufacturer. The ceiling structure must be able to support the system and the wet textiles, and the operating cord or mechanism must be placed safely. Because errors can damage the ceiling or cause a falling load, professional installation is reasonable when the structure is uncertain.
Keep the load below your comfortable reach
The rack should lower to a position where the user can load it without standing on a chair or reaching over an appliance. Raise it only after checking that hangers and long garments will clear the ceiling, walls, and fixtures. Keep cords and loops managed according to the maker’s directions and away from children.
Use a retractable clothesline for an occasional flexible span
A retractable line disappears into a wall housing after the laundry is dry. It works well across a bathroom, laundry alcove, or other short span that can be temporarily taken out of circulation. It is less useful across a main walkway or doorway where someone could meet the line unexpectedly.
Line tension places force on both mounting points, and damp clothes add weight and sag. Install both ends exactly as directed and stay within the product’s stated limit. Do not add extra lines, improvise an anchor, or use a towel bar, door handle, plumbing fixture, or furniture piece as the second support.
Load from the ends toward the center
Distribute items instead of clustering everything in the middle. Space garments so air can move between them, and use hangers only if the line and room layout can accept the concentrated load. Retract the line after the laundry is removed so it does not remain a low-visibility hazard.

Use an over-door drying rack for light garments and small batches
An over-door rack is the most accessible no-drill choice for many renters. It can hold a few hand-washed items, lingerie, dish towels, or lightweight tops without using the floor. Choose a rack designed for the door thickness and use only the load allowed by its manufacturer.
The tradeoff is door function. Test whether the door closes with the rack installed and whether damp fabric touches the wall. Avoid a door that swings into an appliance, blocks an exit, or needs to remain open for room ventilation. Add only the protective pads or stabilizers approved for the rack so it does not scrape or rattle.
Do not use a louvered laundry door automatically
Louvered doors may provide ventilation for a laundry closet. A rack and wet clothing can cover those openings and add stress to a lightweight door. Check the appliance installation requirements and the door construction before using it as a drying surface.
Keep drip-prone garments in the shower zone
A shower area contains drips better than a bedroom or hallway. Use only a rack or hanging accessory designed for the shower wall, rail, or enclosure. Do not assume an existing tension shower rod can carry wet laundry; follow its stated load limit and intended use.
Spread items after the shower is no longer in use, run the exhaust fan if available, and leave the enclosure open when safe so moisture can escape. Remove dry items promptly. A constantly occupied shower rail slows bathroom drying and can keep the room humid.

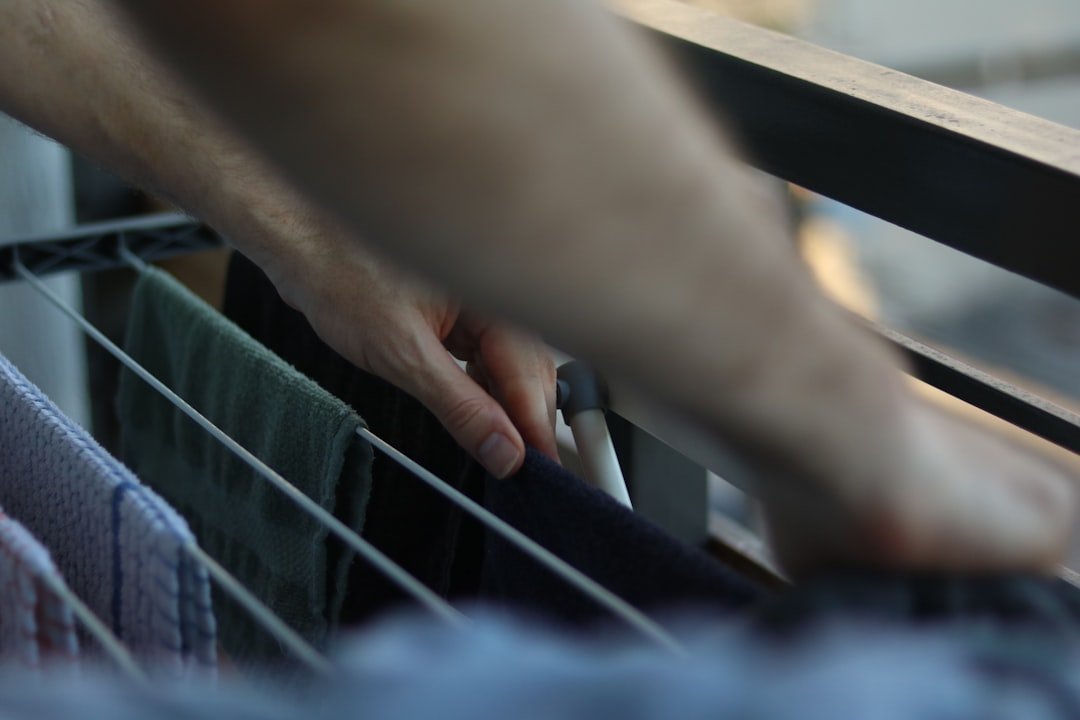
Control humidity while clothes dry indoors
Indoor drying releases moisture into the room. The U.S. Environmental Protection Agency recommends keeping indoor relative humidity below 60 percent and ideally between 30 and 50 percent when possible. A small humidity meter can show whether drying a load is pushing the room beyond that range.
Use a working exhaust fan, open a window when outdoor conditions and security allow, or run a dehumidifier appropriate for the room. A portable fan can improve circulation only when it is placed safely away from water and does not create a trip hazard. If condensation appears on windows or walls, increase ventilation, reduce the amount hung at once, or move the load to a better-ventilated space.
Spin out more water before hanging
Use the garment-care label and a suitable washer spin setting to remove excess water when the fabric allows. Do not wring delicate items unless their care directions permit it. Lay heavy knits flat on a supported surface designed for drying so their shape is not distorted.
Space garments instead of layering them
Leave gaps between pieces and open thick areas such as waistbands, cuffs, and pockets. Turn slow-drying items partway through if practical. A rack covered in overlapping fabric may offer many bars but very little effective drying area.

Match the drying solution to a small-home layout
Narrow laundry closet
A retractable bar or fold-down rack on an adjacent wall is usually more practical than adding hardware inside a closet already filled by machines. Protect the appliance doors and ventilation. If no safe wall exists, use a shower-zone system elsewhere instead of forcing storage into the closet.
Bathroom with an exhaust fan
An over-door rack or shower-specific accessory can contain drips and use existing ventilation. Keep the bathroom door and fan routine consistent, and monitor for condensation. Do not overload a shower rod or block the doorway with hanging fabric.
Studio apartment
A retractable line across a low-traffic alcove offers more drying length than an over-door rack, but it requires secure mounting and a clear span. Use it only during drying, then retract it. Store laundry products separately in a secure caddy using the guide to laundry supply storage in a small apartment.
Rental with a strict no-drill rule
Choose an over-door rack on a compatible solid door or a removable shower accessory designed for the existing support. Do not turn adhesive hooks or improvised tension lines into load-bearing drying systems. Ask the landlord whether a professionally installed wall rack is an approved alteration.
What to avoid when drying clothes without floor space
- Invented load capacities: use only the limit supplied for the exact rack, line, hardware, and installation.
- Adhesive-only support for wet laundry: wet loads need a system approved for that use.
- Lines across doors or busy walkways: choose a low-traffic span and retract it after use.
- Mounting into an unknown wall or ceiling: plumbing, wiring, weak material, or missing structural support can make the installation unsafe.
- Drying directly against walls: fabric needs space for air to circulate, and damp contact can leave moisture on the surface.
- Covering vents or louvered doors: maintain the ventilation required for the room and appliances.
- Hanging near heat or electrical equipment: follow product and appliance clearances and keep water away from electricity.
- Ignoring condensation: reduce the load and improve ventilation or dehumidification.
Frequently asked questions
How can I dry clothes in a small apartment without a floor rack?
Use a properly installed fold-down wall rack, retractable clothesline, over-door rack, ceiling airer, or shower-specific accessory. Select the system by the mounting surface, expected wet load, safe reach, and ventilation. Renters should choose removable options or obtain permission before drilling.
Are wall-mounted drying racks good for small laundry rooms?
They can be excellent when a supported wall and full opening clearance are available. The rack must be installed with the hardware and method specified by its manufacturer, and the open rack should not block appliance doors, controls, venting, or the room walkway.
Can I use a retractable clothesline indoors?
Yes, if the product is intended for indoor use, both ends are securely mounted as directed, and the line crosses a low-traffic area. Stay within the stated load, allow for sag, space items, and retract the line when the laundry is removed.
How do I prevent mold when air-drying clothes indoors?
Keep garments spaced, use exhaust ventilation or another safe source of airflow, and monitor indoor humidity. EPA guidance recommends relative humidity below 60 percent and ideally 30 to 50 percent when possible. Respond to condensation by reducing the load or improving ventilation and dehumidification.
Can I hang wet clothes from a shower curtain rod?
Only if the rod manufacturer allows the use and the combined wet load stays within its stated limit. Many tension rods are not designed for heavy wet laundry. A shower-specific drying accessory or properly mounted rack is the safer choice when capacity is uncertain.
What is the most renter-friendly drying solution?
An over-door rack designed for a compatible solid door or a removable shower accessory is usually the simplest no-drill choice. Check the product limit, protect the door or enclosure, maintain ventilation, and remove the rack if it interferes with normal room use.
Choose the drying zone before choosing the rack
Find the best-ventilated low-traffic spot, identify what can be mounted there, and estimate the wet laundry you will actually hang. Then choose one system whose instructions fit the surface and load. A smaller rack used with good spacing and humidity control is more effective than a larger system squeezed into an unsafe or poorly ventilated location.