
Organize a Small Kitchen With No Pantry: 17 Practical Ideas
No pantry? Create a practical food-storage system with 17 small-kitchen ideas for cabinets, walls, carts, narrow gaps and renter-friendly spaces.
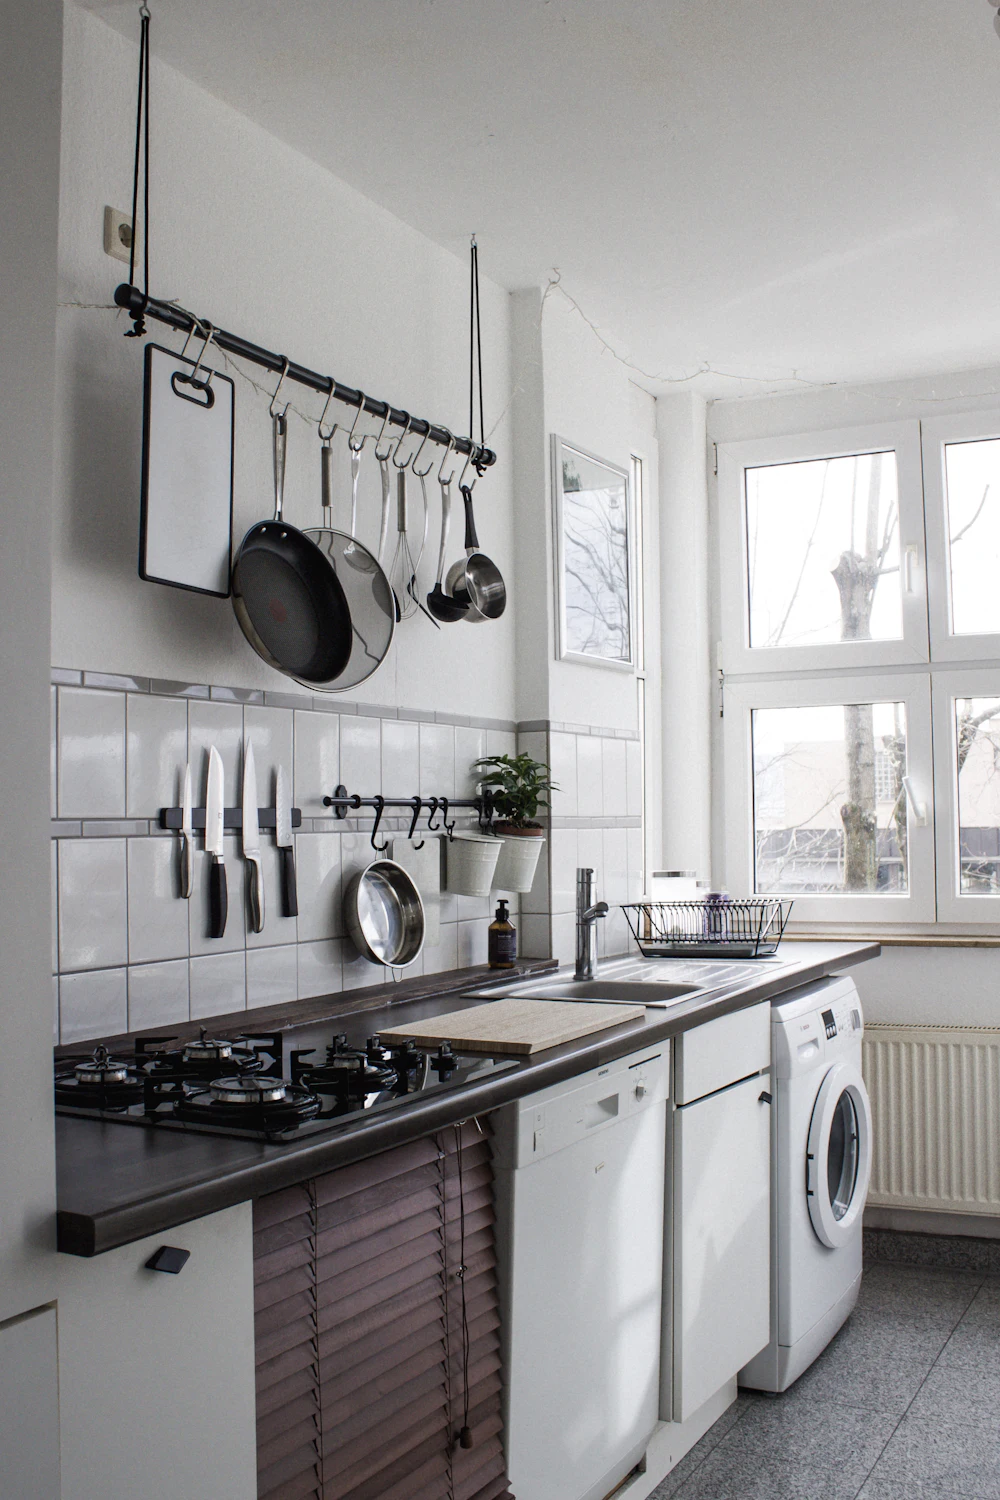
If you need to organize a small kitchen with no pantry, do not scatter food across every available shelf. Choose one main food-storage zone, divide it by use, and add only the organizers that solve a measured problem. This creates a pantry system even when your kitchen has no pantry cabinet, spare closet, or generous counter space.
The most useful setup is rarely the one with the most containers. It is the one that lets you see everyday staples, reach them without moving three other things, and notice what needs replacing before you buy duplicates. The 17 ideas below work for compact houses, studios, and apartment kitchens, including renter-friendly options that do not require drilling. If your storage bottleneck is elsewhere, use our small fridge organization guide or our under kitchen sink organization guide for those two high-friction zones.
Measure Before You Create a Pantry System
Small-kitchen organizers fail when they fit the advertised space but not the real opening. Cabinet hinges, door frames, pipes, shelf lips, appliance handles, and uneven walls can reduce usable room. Record measurements in millimetres or quarter-inches so a “close enough” purchase does not become clutter.
- Cabinets: measure the clear opening width, interior width, depth, and height between shelves.
- Doors: measure the space between the closed door and the shelf edge before adding an inside-door basket.
- Narrow gaps: measure at the floor, middle, and top; use the smallest number and leave clearance for easy removal.
- Above the refrigerator: check the appliance manual for ventilation and service clearance before storing anything there.
- Walls: locate switches, outlets, splash zones, and areas where a shelf would interfere with your head, doors, or cooking.
| Problem | Measure or check | Best first move |
|---|---|---|
| Food disappears in a deep cabinet | Interior depth and door opening | Handled bins or pull-out drawers |
| Short items waste shelf height | Height above the tallest item | Shelf riser or adjustable shelf |
| Packets fall into a pile | Packet height and category volume | One open-top bin per category |
| A narrow gap is unused | Width at three heights | Cart slightly narrower than the smallest measurement |
| The counter holds all the food | Available cabinet, wall, or cart capacity | Create one primary food zone before buying containers |
Build Five Simple Food Zones
A no-pantry kitchen becomes easier to maintain when food is grouped by the way it is used, not by the shape of the packaging. You do not need five separate cabinets. A shelf, bin, or drawer can be one zone.
- Daily staples: cereal, coffee, tea, bread, rice, pasta, or the foods you reach for most.
- Cans and jars: arranged so labels remain visible and older items are used first.
- Snacks: one controlled bin or basket rather than packets spread across several cupboards.
- Baking and cooking: flour, sugar, oils, spices, and small ingredients kept near the relevant work area.
- Backstock: unopened duplicates kept higher, lower, or outside the kitchen—not mixed with the open item.
If cabinet space is also competing with cookware, first apply the access-first ideas in our tiny-kitchen storage guide. The guide below focuses specifically on replacing a missing pantry, so the two articles solve different parts of the same room.
1. Choose One Cabinet as the Main Food Cabinet
Start by moving plates, mugs, or rarely used serving pieces out of one practical cabinet. A single visible food zone is usually easier to shop from and reset than groceries divided among five unrelated cupboards. Pick a cabinet away from heat and excess moisture, with shelves that are reachable by the people who use the kitchen.
Reserve the most accessible shelf for daily food. Put heavier jars and cans on a lower shelf, lighter packets above, and backstock at the top. If one cabinet cannot hold everything, keep the second zone specific—breakfast, baking, or bulk backups—rather than creating another mixed cupboard.
2. Give Each Shelf One Job
A shelf labelled “food” is still too broad. A shelf labelled “breakfast and drinks” is easier to maintain. Use broad categories that match your household rather than copying a picture-perfect pantry. Someone who cooks from scratch may need a large grains-and-pulses zone; another household may need quick lunches and children’s snacks at reachable height.
Leave a small amount of breathing room. A shelf packed edge to edge hides items and makes every removal a rearranging task.
3. Add Shelf Risers for Short Cans and Jars
Shelf risers create a second level when jars, mugs, or tins occupy only half the available height. They work best when the upper row remains visible and the riser does not block the cabinet hinge or door. Measure the tallest item that will sit below the riser and confirm that you can remove it without tipping the shelf above.
A stepped can riser can improve label visibility, but it reduces usable depth. In a very shallow cabinet, two short rows may be more practical than a tiered organizer.
4. Use Handled Bins as Drawers in Deep Cabinets
Deep shelves often turn the back third into forgotten storage. A handled bin lets you pull a complete category forward without unloading the front. Use separate bins for snacks, breakfast items, baking packets, or sauces.
Choose open-top bins when you need to see the contents and straight-sided bins when space is tight. Before buying, measure the cabinet opening—not only the interior—and confirm that the bin clears the hinge.
5. Use a Turntable for Bottles in an Awkward Corner
A turntable can make oils, vinegars, sauces, or small jars accessible in a corner cabinet. It is less useful for tall, unstable packaging or a shelf so narrow that rotation wastes more room than it saves. Test the radius with a dinner plate or a paper circle before purchasing.
Keep tall bottles toward the centre and do not overload the edge. If a bottle is used beside the hob, store it close enough for convenience but outside direct heat and splatter.
6. Use Cabinet Doors for Lightweight Packets
An inside-door organizer can hold wraps, seasoning packets, measuring spoons, or other light items. To test clearance, place a small box against the door, close it slowly, and check whether it collides with the shelf contents. The basket depth plus the tallest item must fit the empty space behind the door.
Avoid heavy cans or glass jars unless the cabinet and hardware are specifically designed for that load. Door storage should improve access without straining hinges.
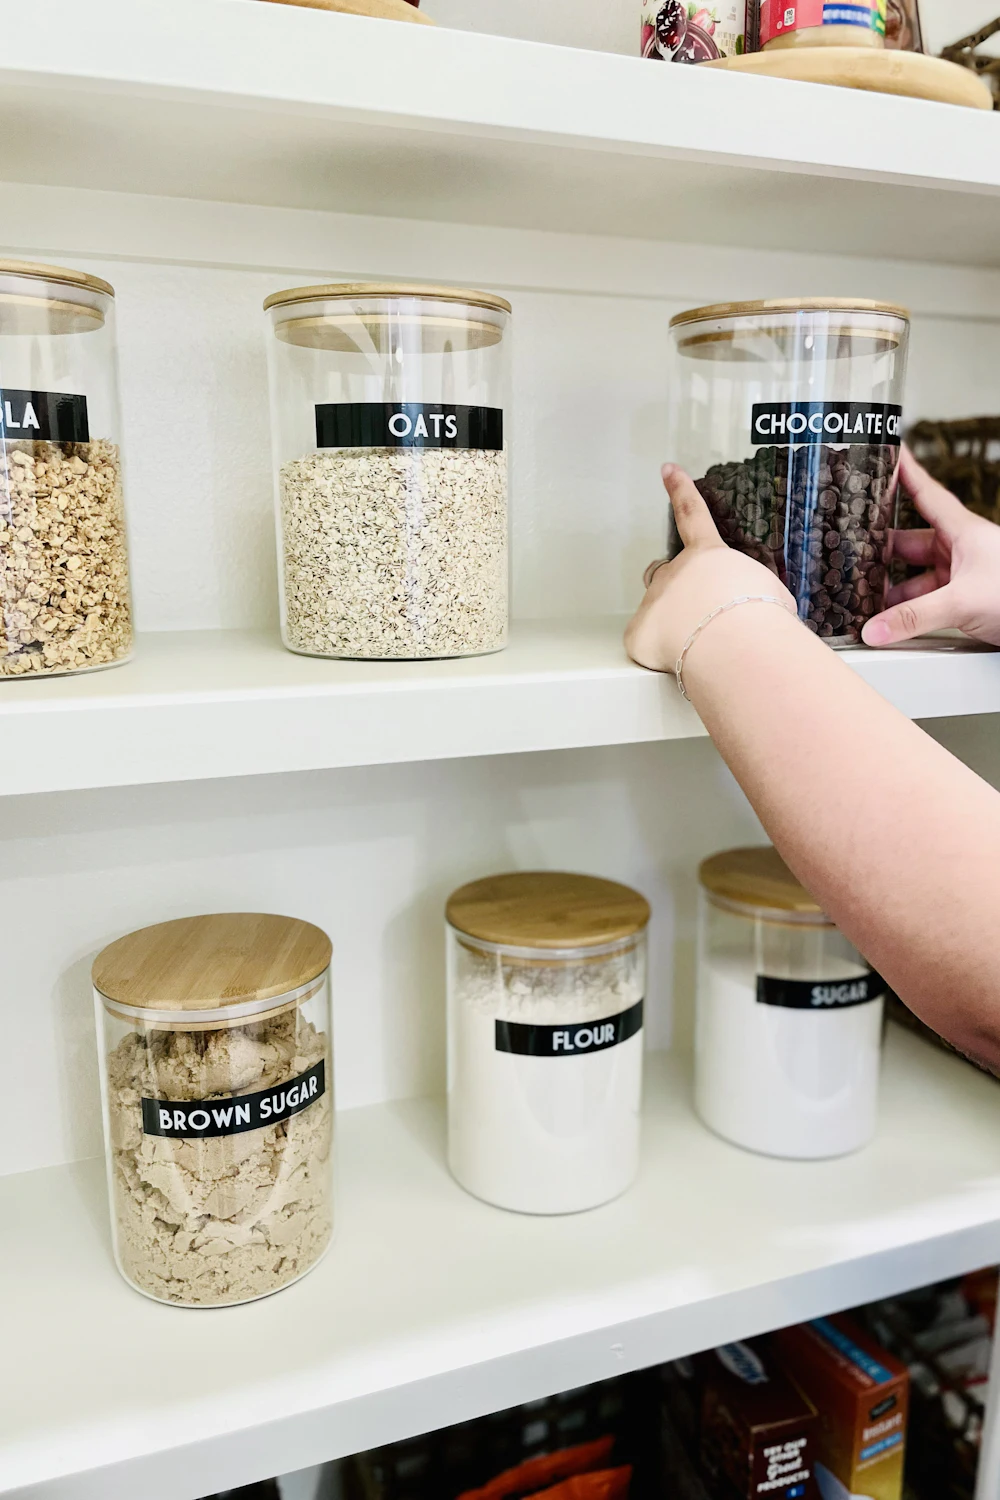
7. Decant Only High-Use Dry Goods
Matching jars are not required for an organized kitchen. Decant when a container stacks better, seals more reliably, or makes the remaining quantity easier to see. Rice, pasta, cereal, oats, and flour are common candidates; irregularly used products can stay in their original packaging.
Label the contents and keep cooking directions, allergen information, and date information when relevant. For product-specific storage guidance, check the manufacturer’s label or the USDA-supported FoodKeeper resource.
8. Turn One Drawer Into a Snack or Breakfast Drawer
A deep drawer can replace a pantry shelf for snack pouches, tea, coffee pods, breakfast bars, or lunch components. Arrange items vertically when possible so each option is visible from above. A few adjustable dividers are usually more flexible than many tiny containers.
Keep the category narrow. If the drawer becomes the destination for every loose packet, it will quickly become another hidden pile.
9. Create a Baking Box You Can Lift Out
If you bake occasionally, do not give every ingredient permanent prime space. Keep small baking items—measuring tools, decorations, extracts, and packets—in one handled box. Store heavy flour and sugar separately at a safe, reachable height.
The box turns a scattered activity into a kit: bring it to the counter, use it, then return the complete set. This method also works for tea, packed lunches, or smoothie supplies.
10. Add a Slim Rolling Cart Only After Measuring the Gap
A rolling cart can create a useful pantry in the gap beside a cabinet or appliance. Measure the gap at the front and back, check baseboards and floor transitions, and choose a cart with enough clearance to roll without scraping. Confirm that it will not block appliance ventilation, doors, or access for repairs.
Use the upper levels for light everyday items and the lower level for heavier bottles. If the cart must be pulled out several times a day, stable wheels and a real handle matter more than maximum capacity.
11. Use the Refrigerator Side for Light Magnetic Storage
If the refrigerator side is exposed and magnetic, a purpose-made rack can hold light items such as tea towels, wraps, or small packets. Check the product’s instructions, keep the arrangement clear of vents, and avoid hanging anything that could fall onto a walkway or hot surface.
This is especially useful in a rental because it avoids drilling. For more reversible ideas, see our guide to renter-friendly wall storage.
12. Install a Shallow Wall Shelf Where It Will Not Crowd the Work Zone
A shallow shelf can hold tea, coffee, jars, or frequently used ingredients without consuming the counter. Before mounting, check the wall construction, expected load, head clearance, and the path of cabinet doors. In a rental, obtain permission when required or use a freestanding alternative.
Keep open-shelf food in containers suited to the product and the room. A shelf close to steam, grease, or direct sun may be better for dishes than food.
13. Use a Counter Shelf Instead of Spreading Items Sideways
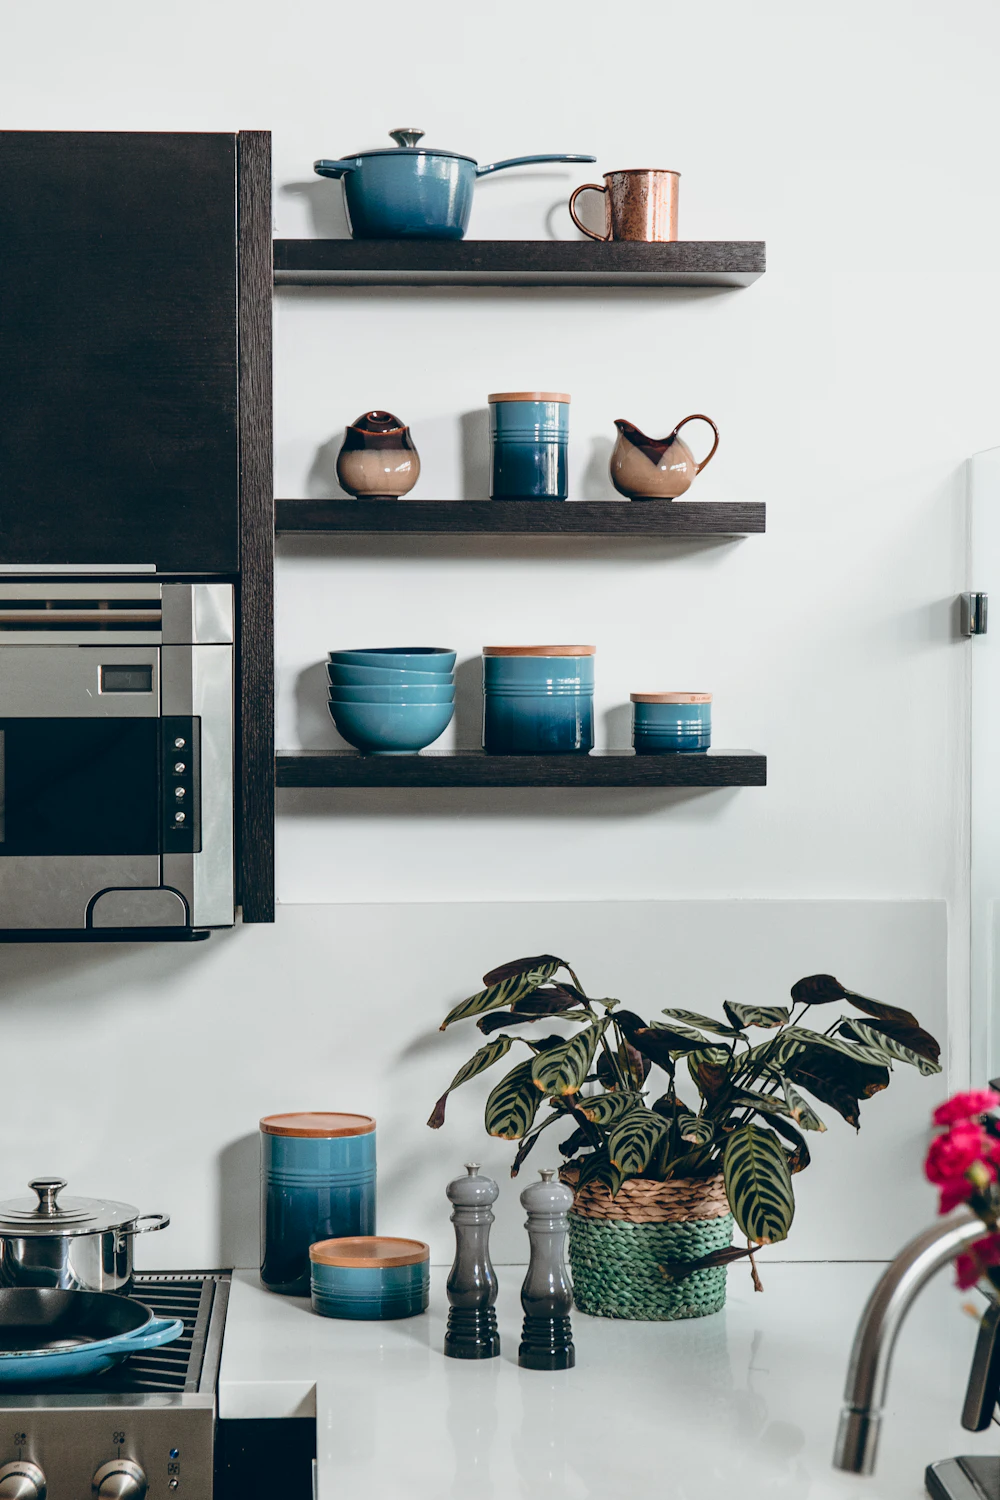
If coffee, tea, bread, or breakfast supplies must remain on the counter, contain them vertically. A sturdy counter shelf can hold mugs above a coffee machine or create a second level for lightweight staples. Measure appliance height, lid movement, steam path, and reach before choosing the shelf.
Set a boundary: only one daily-use station earns counter space. The remaining surface stays open for food preparation.
14. Store Rarely Used Kitchenware Outside the Kitchen
A no-pantry kitchen may not have enough room for groceries and special-occasion cookware. Move low-frequency items—large platters, seasonal baking tins, spare glasses, or entertaining pieces—to a labelled bin elsewhere. Protect fragile items and choose a location that is dry and easy to retrieve when needed.
This is not “hiding clutter.” It is assigning scarce kitchen space to the things used in the kitchen every week.
15. Keep Backstock Separate From Open Products
Duplicates create confusion when they are mixed with open items. Give unopened backups one shelf or bin and shop from that zone before buying more. In a very small home, limit backstock to products you use regularly and can store safely.
A simple rule helps: one open item in the daily zone; replacements in the backstock zone. This makes the shopping list easier to trust.
16. Use the Space Above the Refrigerator Selectively
The space above a refrigerator can hold a light basket of rarely used, heat-tolerant non-food items if the appliance manual allows the required clearance. It is not the right place for heavy objects, frequently used food, or anything that must be reached by climbing unsafely.
If the top is difficult to see, use one large handled basket rather than several loose objects. Never block vents or create an obstacle to servicing the appliance.
17. Reset the System for Five Minutes Each Week
No container can replace a short reset. Return stray groceries to their zones, bring older food forward, combine duplicates when appropriate, wipe visible spills, and add low items to the shopping list. This prevents the cabinet from slowly reverting to a mixed pile.
Pair the reset with the kitchen portion of our 15-minute cleaning routine so organization and cleaning support each other.
Best No-Pantry Setup by Kitchen Layout
| Kitchen layout | Primary food zone | Useful secondary storage | Avoid |
|---|---|---|---|
| Studio kitchenette | One cabinet or compact cart | One breakfast drawer | Covering the only prep surface |
| Galley kitchen | Upper cabinet near prep area | Shallow wall shelf or deep-drawer bins | Storage that narrows the walkway |
| Rental kitchen | Existing cabinet with removable bins | Magnetic rack or freestanding cart | Unapproved drilling or risky adhesives |
| Kitchen with few cabinets | Tall freestanding unit | Door storage and one counter station | An unstable tall unit or blocked ventilation |
A 30-Minute No-Pantry Reset
- Remove food from one candidate cabinet or drawer. Discard only what is expired or clearly unusable; set duplicates together.
- Choose your five zones. Adjust their size to the amount you actually own.
- Return daily staples first. Put them in the easiest-to-reach positions.
- Place heavy and backup items. Keep weight low and backstock separate.
- Identify one real storage problem. Only now decide whether a riser, bin, turntable, or cart would solve it.
- Write down missing measurements. Do not buy an organizer until those numbers are confirmed.
Frequently Asked Questions
Where should food go when there is no pantry?
Use one reachable cabinet, a deep drawer, or a stable freestanding unit as the main food zone. Store daily items where they are easiest to see, heavier items lower, and unopened backups separately. Avoid spreading food across every spare space.
How can I add pantry storage without drilling?
Use removable shelf risers, handled bins, drawer dividers, a rolling cart, an over-door organizer that fits correctly, or magnetic storage on a compatible appliance surface. Check the lease and product instructions before using adhesives.
Should I put all dry food into matching containers?
No. Decant only when the container improves stacking, visibility, access, or protection. Keep labels, cooking instructions, allergens, and dates when relevant. Original packaging is often the simplest option for products used infrequently.
How do I stop a small food cabinet from becoming messy again?
Keep categories broad, leave some open space, separate backups, and do a five-minute weekly reset. If an organizer adds steps instead of removing them, simplify the system.
Organize a Small Kitchen With No Pantry: The Takeaway
The best way to organize a small kitchen with no pantry is to create a visible, limited food system—not to fill every gap. Choose one main zone, measure accurately, keep everyday food accessible, separate backups, and add organizers only where they remove a specific frustration. The result should make cooking and shopping easier while preserving the counter as a place to work.
For broader apartment storage beyond the kitchen, continue with our smart storage solutions for small apartments.