
15 Small Apartment Shoe Storage Ideas for Narrow Entryways
Fifteen small apartment shoe storage ideas for narrow entryways, with door-swing checks, slim cabinets, boot trays, renter-friendly options and seasonal storage.
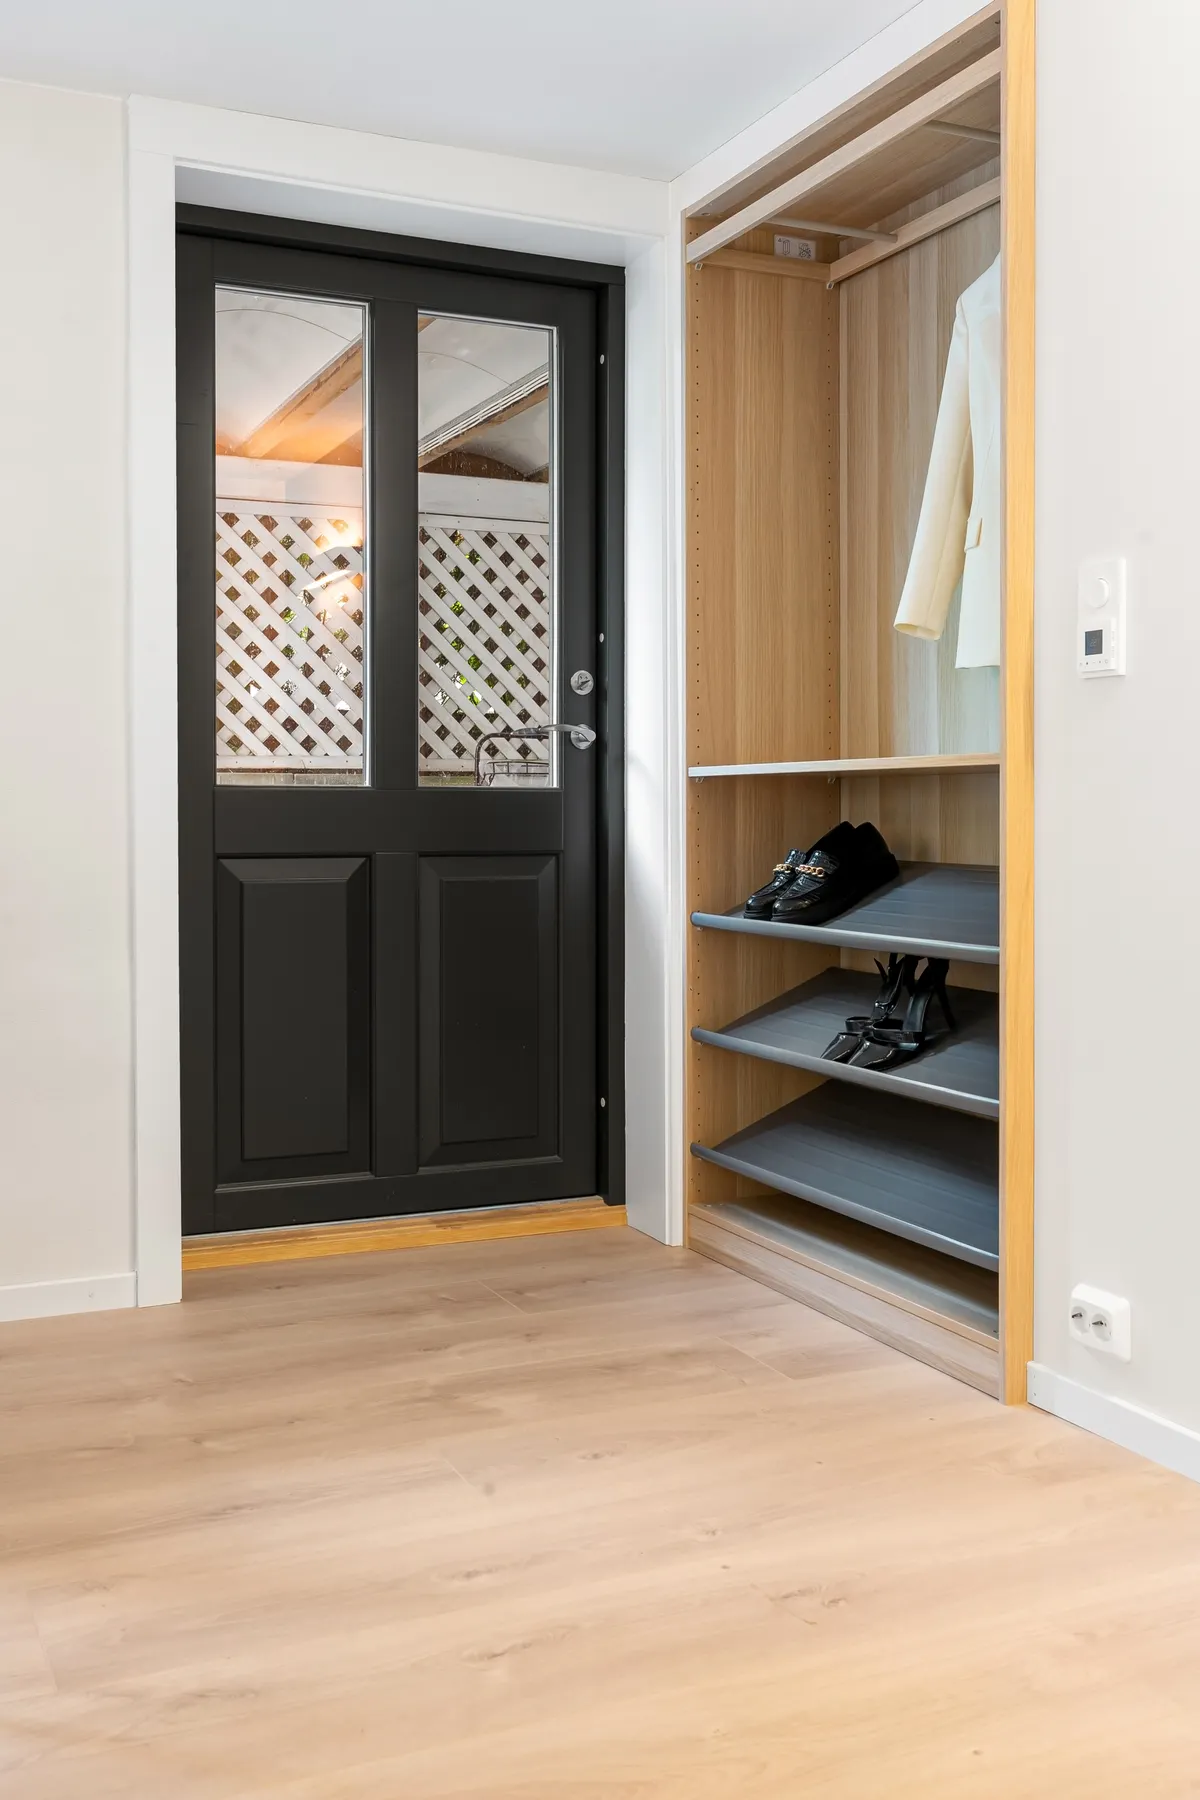
The best small apartment shoe storage ideas for narrow entryways start with the door, not the shoe rack. Measure the full door swing, the clear walking route, and the deepest pair of shoes you wear regularly. Then keep only everyday footwear near the entrance and move seasonal pairs elsewhere. In a narrow entryway, a shallow tilt-out cabinet, open rack, tray, or vertical tower can work—but the right choice depends on depth, ventilation, drilling rules, and the size of your shoes.
Featured photo by Lisa Anna via Pexels.
Measure First: Door Swing, Shoe Depth and Walking Space
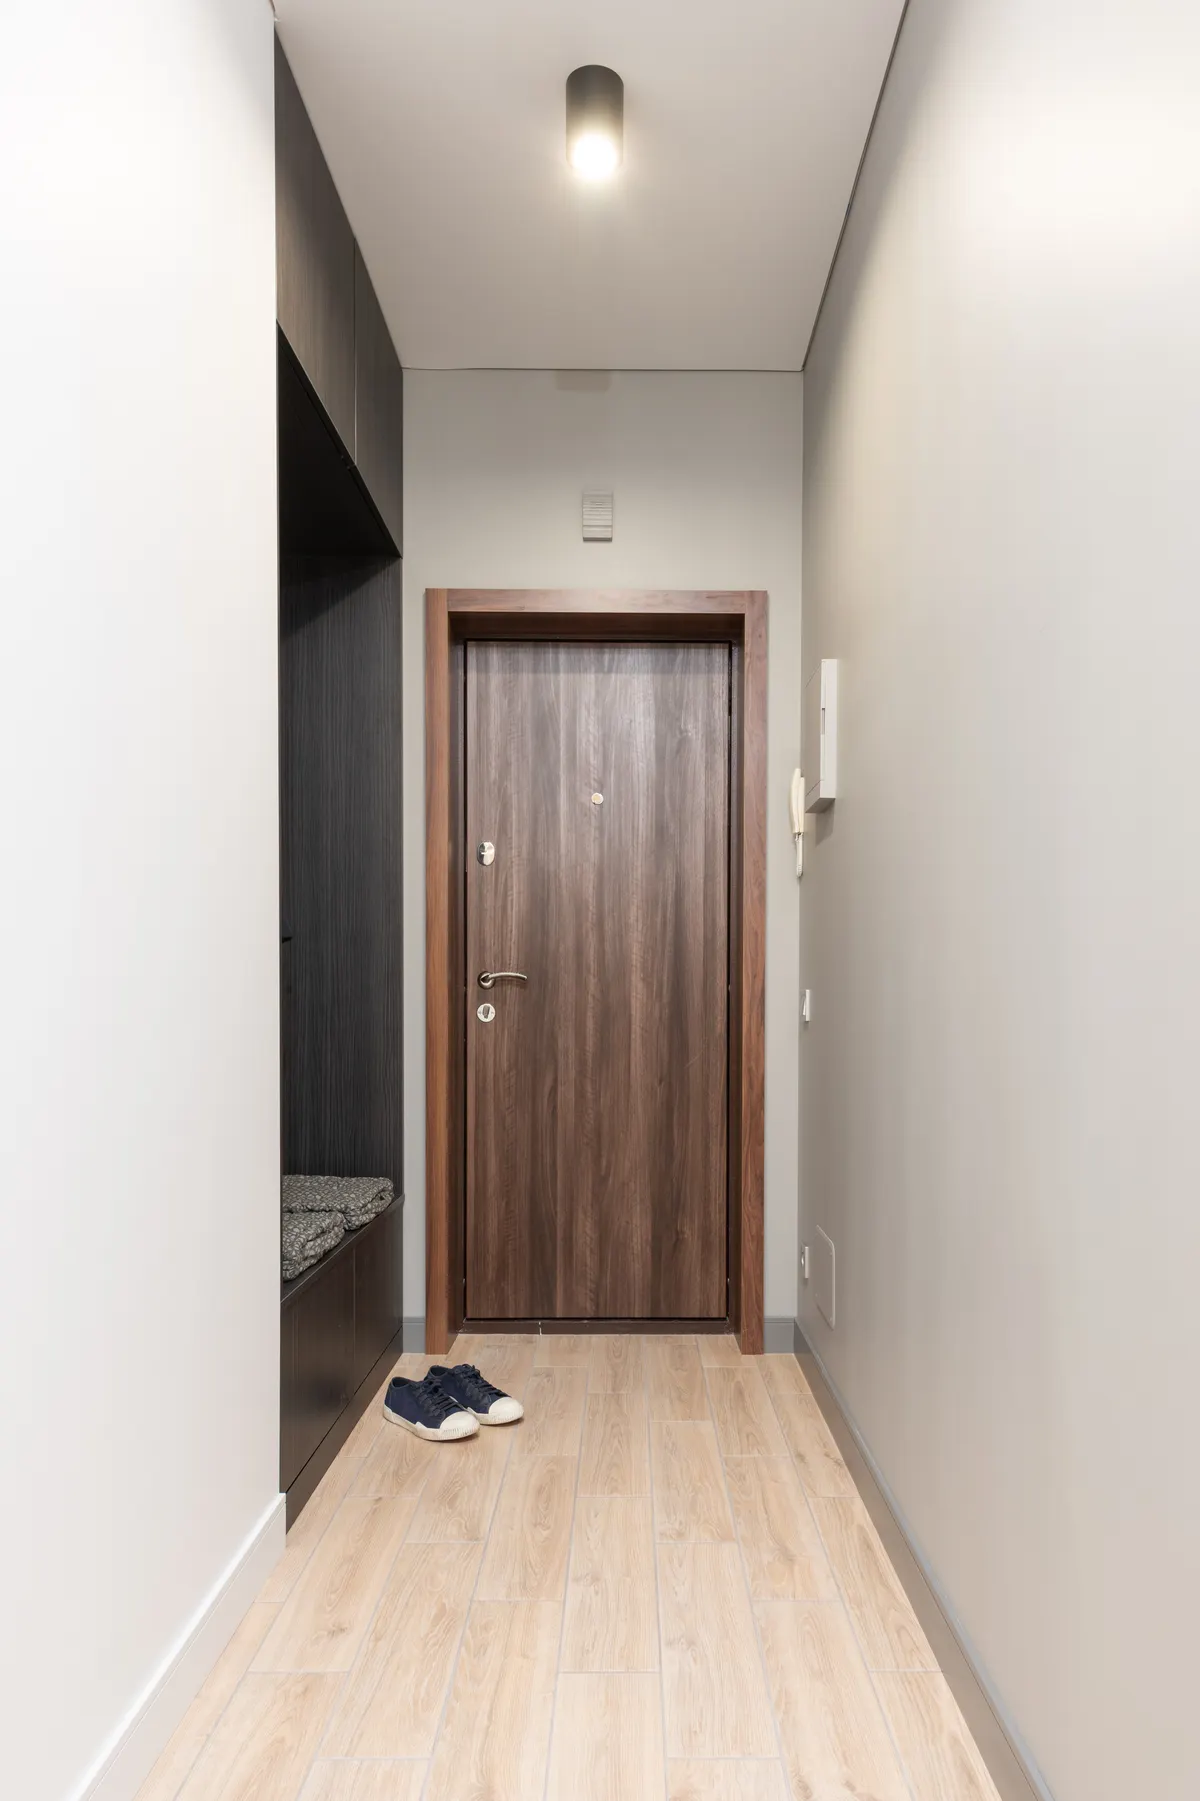
Open the front door as far as it normally needs to travel and mark that arc on the floor. Anything you add—cabinet, rack, tray, bench or basket—has to sit outside it. Next, measure the wall depth available after baseboards and trim, then place your largest sneaker or boot against that wall. This tells you whether you need shoes stored flat, angled, upright, or somewhere else entirely.
Do not use a universal hallway-clearance number as a substitute for your own layout. Apartment doors, trim, radiators, switches and required paths vary. A useful test is to tape the proposed footprint on the floor and walk through carrying groceries while the door is open.
If your entrance also needs keys, mail and bags, keep those jobs separate with the system in our small entryway organization guide.
1. Use a Slim Tilt-Out Shoe Cabinet When Depth Is the Constraint
A tilt-out cabinet stores footwear at an angle rather than on a full-depth shelf, which can make it useful on a short, narrow wall. As one verified example, IKEA lists the wall-mounted TRONES unit at 20 1/2 inches wide and 7 1/8 inches deep. IKEA also says to use fasteners suitable for the wall material. That is a useful reminder that “slim” does not mean “no installation.” See the manufacturer specifications before using any exact product as a planning reference.
Best for: low everyday shoes where floor depth is scarce. Poor choice: large sneakers, tall boots, or rentals where the required wall fixing is not allowed. Renter alternative: a stable freestanding rack that fits the same taped footprint.
2. Choose a Narrow Freestanding Rack for Flexible, No-Drill Storage
An open rack is less visually quiet than a cabinet, but it is easy to move and lets footwear air out. Measure the rack’s full depth and compare it with the shoes that will sit on it; a rack that looks narrow online can still allow toe boxes to project into the passage.
Use the lower shelves for heavier or larger shoes and avoid stacking a lightweight rack beyond its intended configuration. If a tall model includes an anti-tip system, follow the manufacturer’s instructions rather than treating anchoring as optional.
3. Use a Shoe Bench Only Where Sitting Space Earns Its Footprint
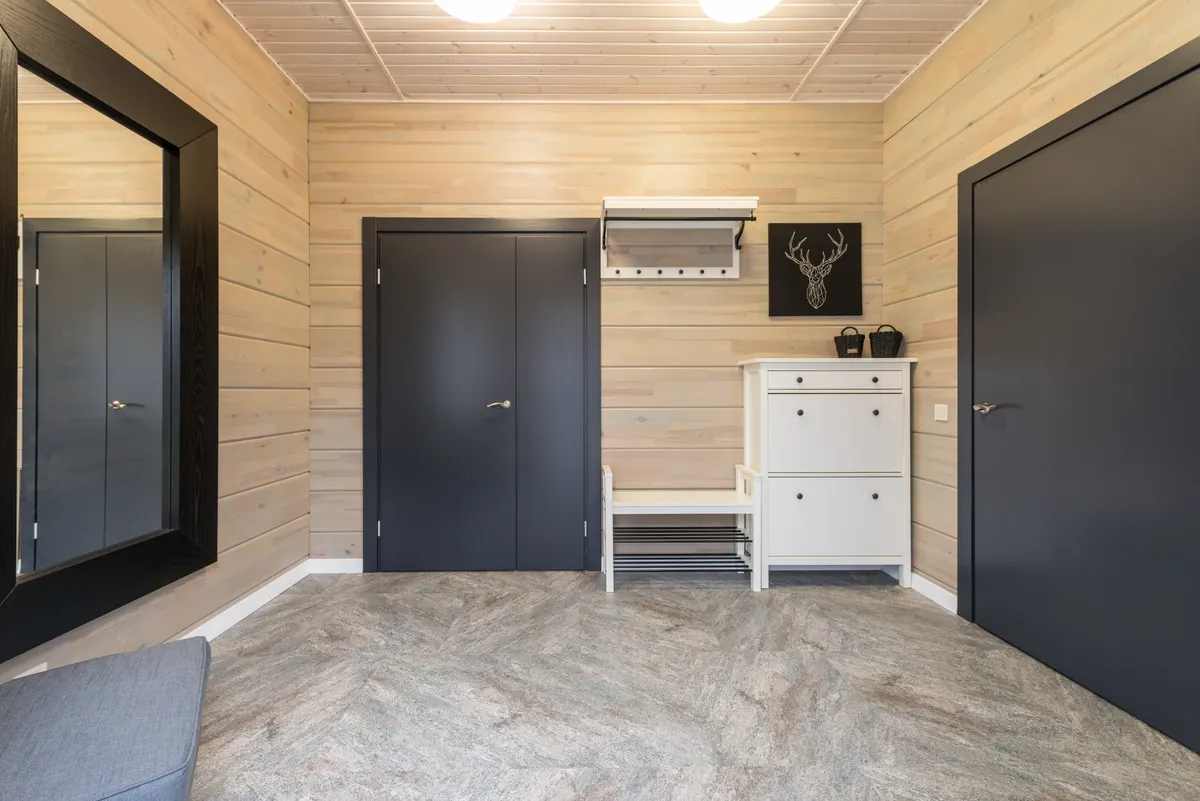
A bench can combine seating and footwear storage, but it is usually a better fit for a wider entry than for a true corridor. Tape its width and depth on the floor, open the door, then sit in the taped zone and imagine another person passing behind you. If the path feels pinched, a small stool plus a separate slim shoe solution uses less permanent floor space.
Closed bench compartments are better for dry shoes than for footwear that came in wet. For fall rain and heavier boots, the wet-zone ideas in our fall coat and boot storage guide are more practical.
4. Put Wet Shoes on a Washable Boot Tray
A tray is not long-term shoe storage; it is a containment zone. It keeps wet soles, grit and drips in one washable footprint while shoes dry. Choose a tray by measuring the active pairs you expect to place there at the same time, and position it outside the door swing so nobody has to step over it to enter.
Once footwear is dry, return it to the rack or cabinet. Leaving every pair on the tray turns a useful wet zone into a permanent floor obstacle.
5. Slide Shoe Baskets Under a Console You Already Need
If a narrow console already serves as the key-and-mail landing zone, the open floor beneath it can hold one or two low baskets for shoes. This works best when the baskets pull straight out without colliding with the front door or a nearby chair.
Open or breathable baskets are better for dry everyday pairs. Do not push damp footwear into a fabric or tightly woven basket just to make the entry look tidier.
6. Use Behind-the-Door Floor Space Only If the Door Never Hits It
Some apartments have a shallow pocket of floor behind the open door. A low rack or tray can fit there, but only if you test the door at its widest normal opening. Check the handle, doorstop and any wall-mounted hardware too. A solution that forces the door to stop early is not a space-saving solution.
This zone is best for low storage. Tall furniture behind a swinging door is easier to hit and can make the entrance feel boxed in.
7. Treat Over-the-Door Shoe Organizers as a Light-Duty Option
Over-door pockets can move shoes off the floor without drilling, but they have limitations: brackets may interfere with the door frame, bulky shoes can make the door harder to use, and visible pockets can make a living-room-facing entry look busy. Measure the top clearance and door thickness before buying.
Use this option for light, clean footwear or accessories rather than wet boots. If the door is metal or unusually tight in its frame, a freestanding solution may be simpler.
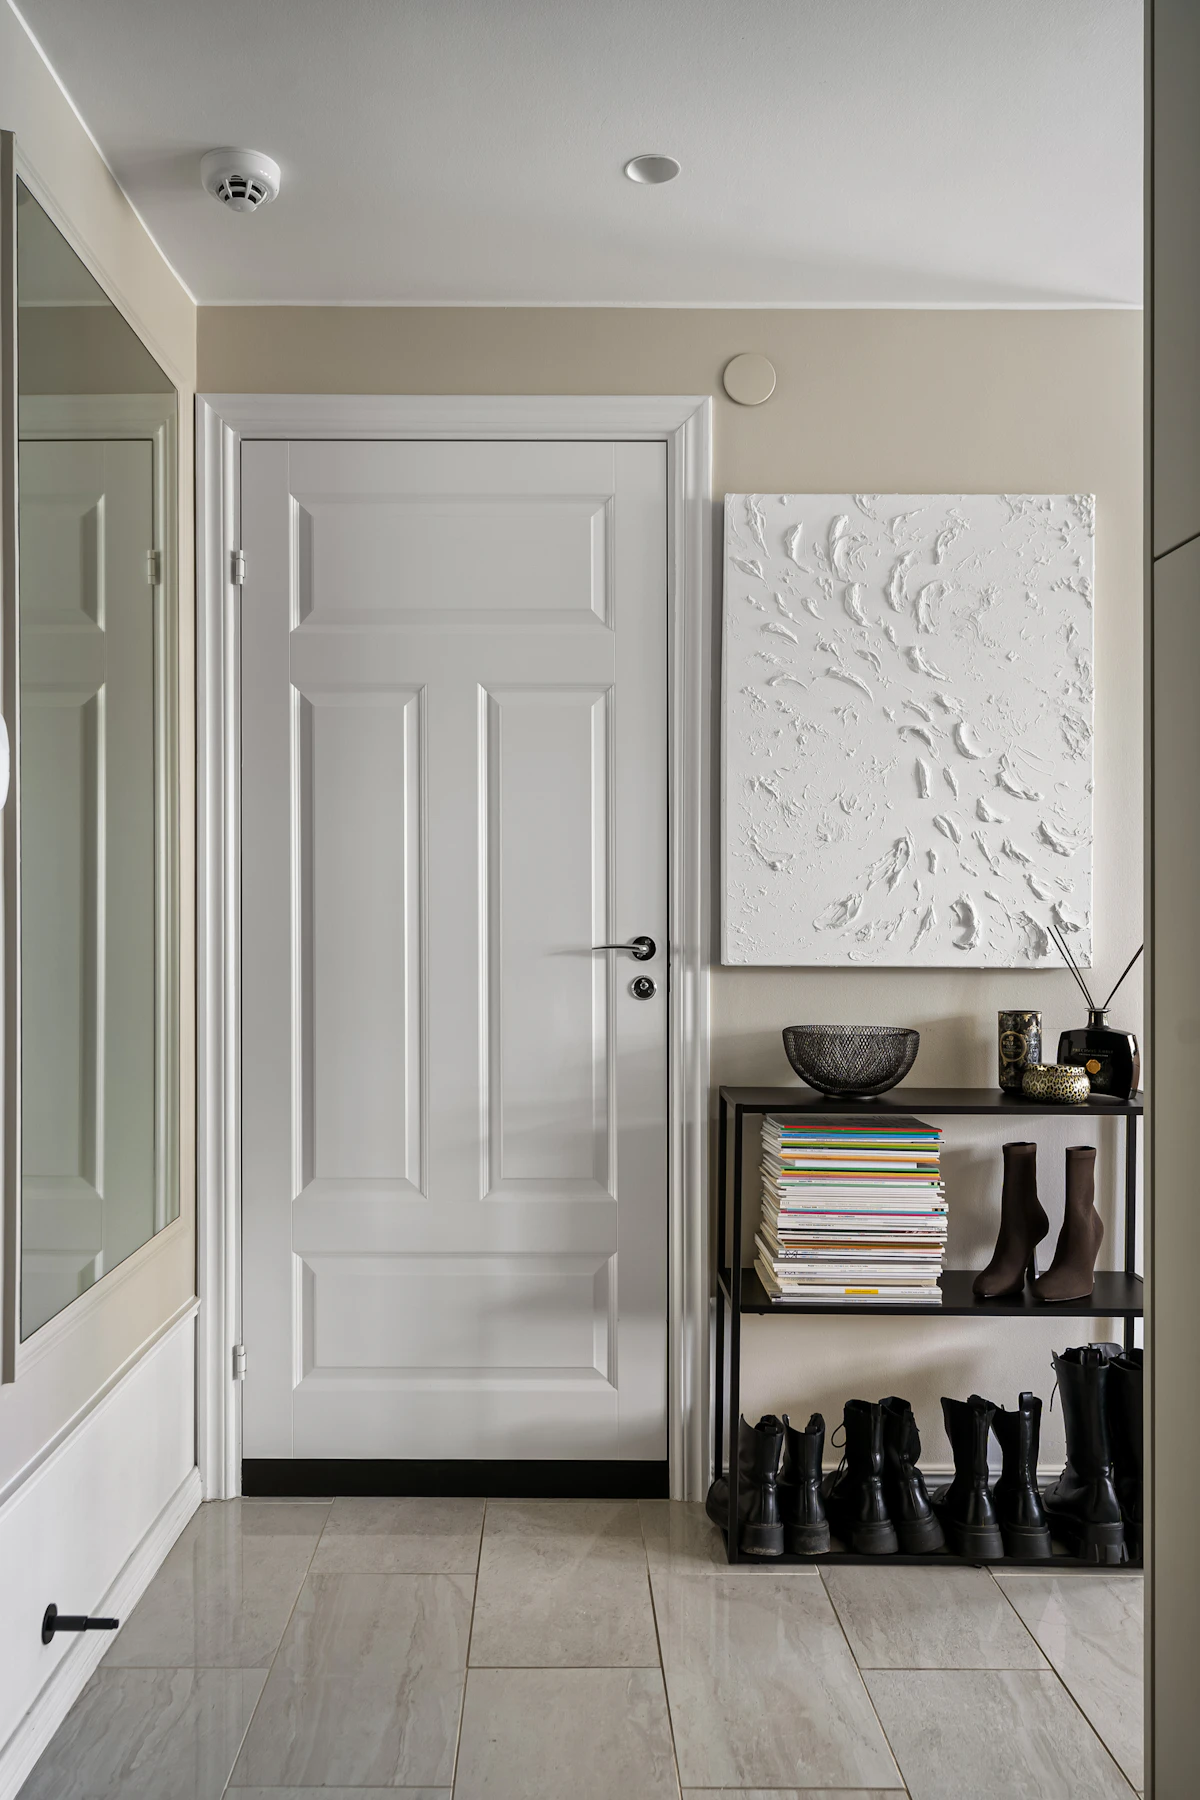
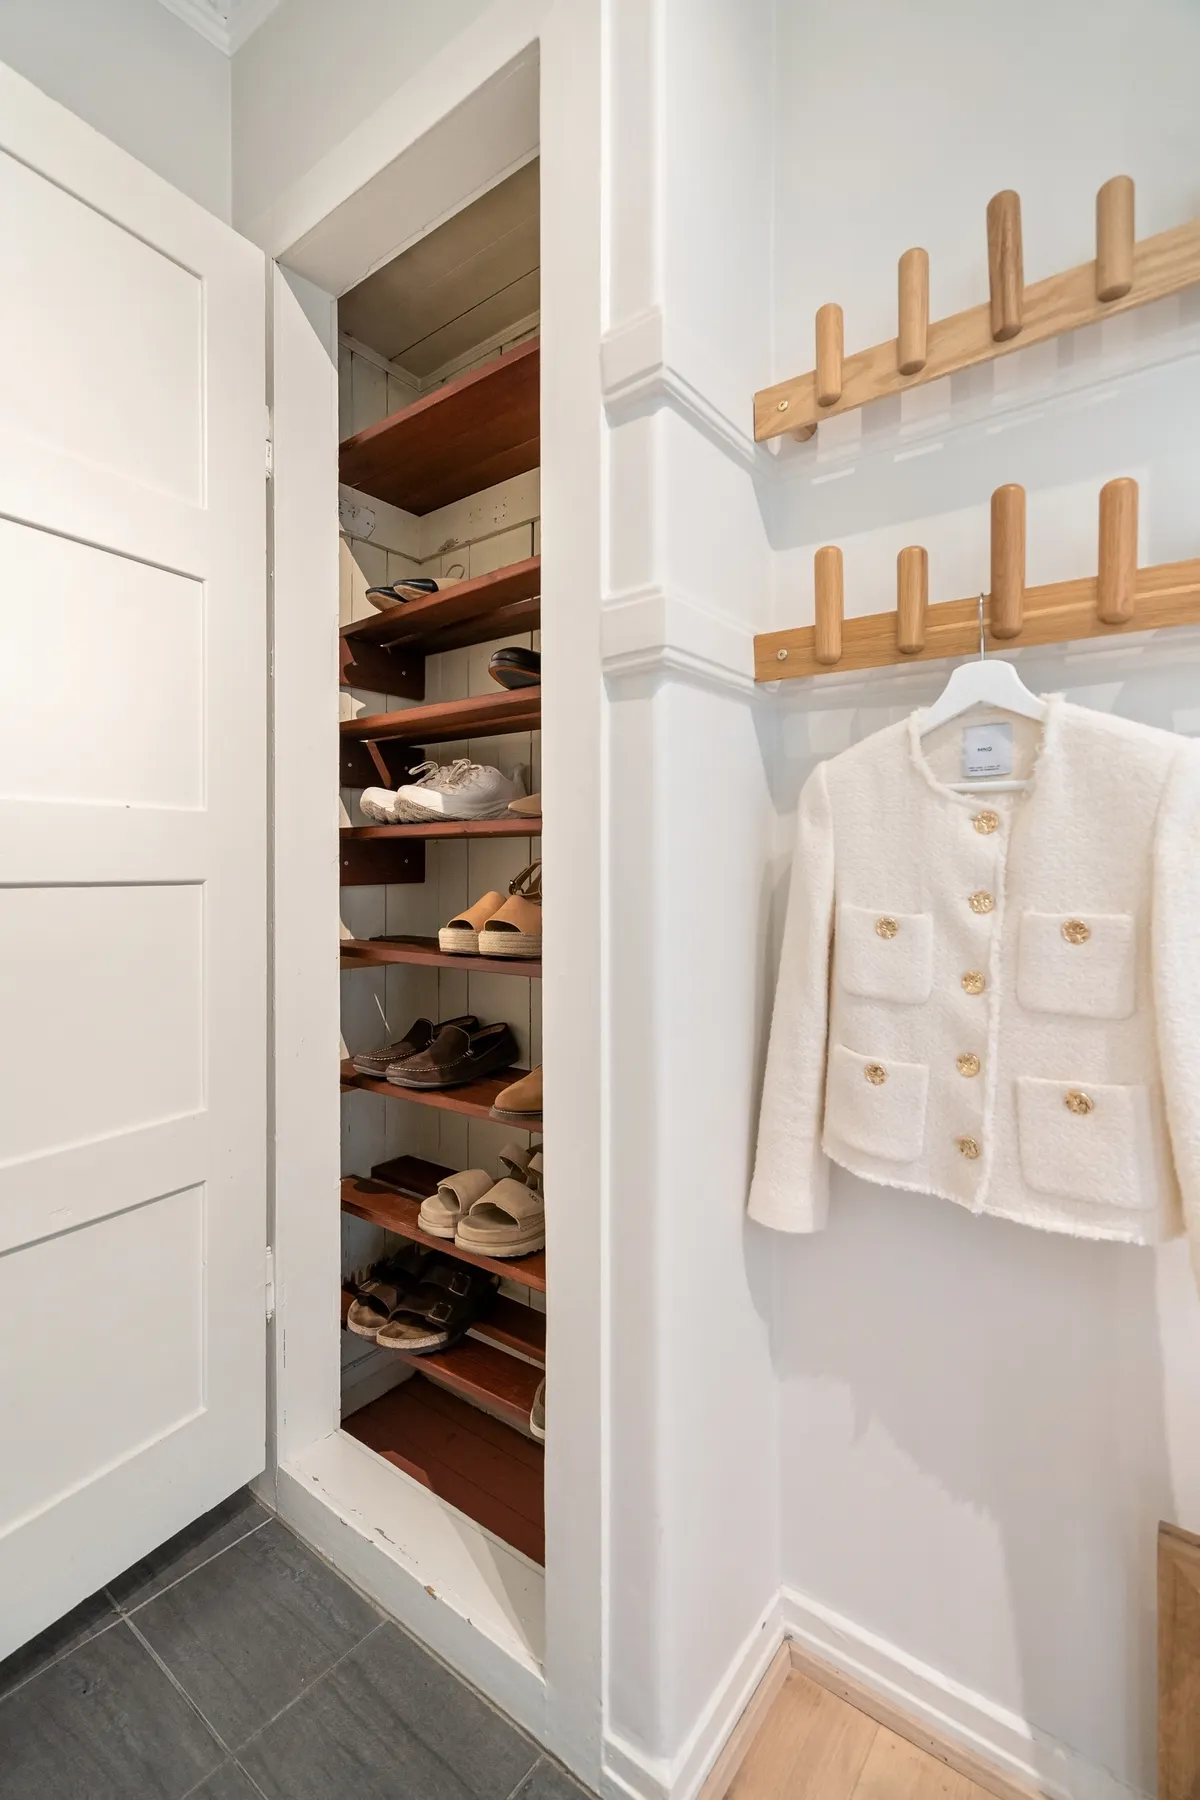
8. Go Vertical With a Shoe Tower on a Short Wall
A vertical tower trades width for height. It is useful when you have only a narrow strip of wall beside a door or closet, but stability matters more as furniture gets taller and narrower. Keep heavier footwear low and follow any anti-tip instructions supplied with the unit.
If wall anchoring is required and your lease does not allow it, choose a lower, wider freestanding rack instead. The renter-friendly wall storage guide explains why “removable” mounting should still be matched to the surface and load.
9. Alternate Shoes Heel-to-Toe on Open Shelves
On a fixed-width shelf, alternating one shoe forward and its mate backward can reduce how much side-to-side room a pair uses, especially when toe boxes are wider than heels. It costs nothing and is easy to test before buying more storage.
This is useful for low shoes and sneakers. It is less helpful for boots that need to stand upright or shoes that rub against each other when packed tightly.
10. Set a Household Limit for Pairs That Stay by the Door
The entryway should hold the shoes people are wearing now, not the household’s entire footwear collection. Give each person a realistic number of daily positions based on the storage you actually have. When the rack is full, a pair has to leave before another pair moves in.
For one person, this may be only a few frequently worn pairs. For a family, separate labeled positions can prevent one user’s shoes from taking over the whole rack. The exact number matters less than having a physical limit.
11. Let Damp Footwear Dry Before It Goes Into Closed Storage
Closed cabinets reduce visual clutter, but they are not the best first stop for wet shoes. Knock off loose dirt, place damp footwear on the tray or an open rack, and let it dry according to the shoe maker’s care instructions before closing it away.
If an enclosed cabinet repeatedly smells damp, the answer is usually less wet footwear inside—not more fragrance or another organizer.
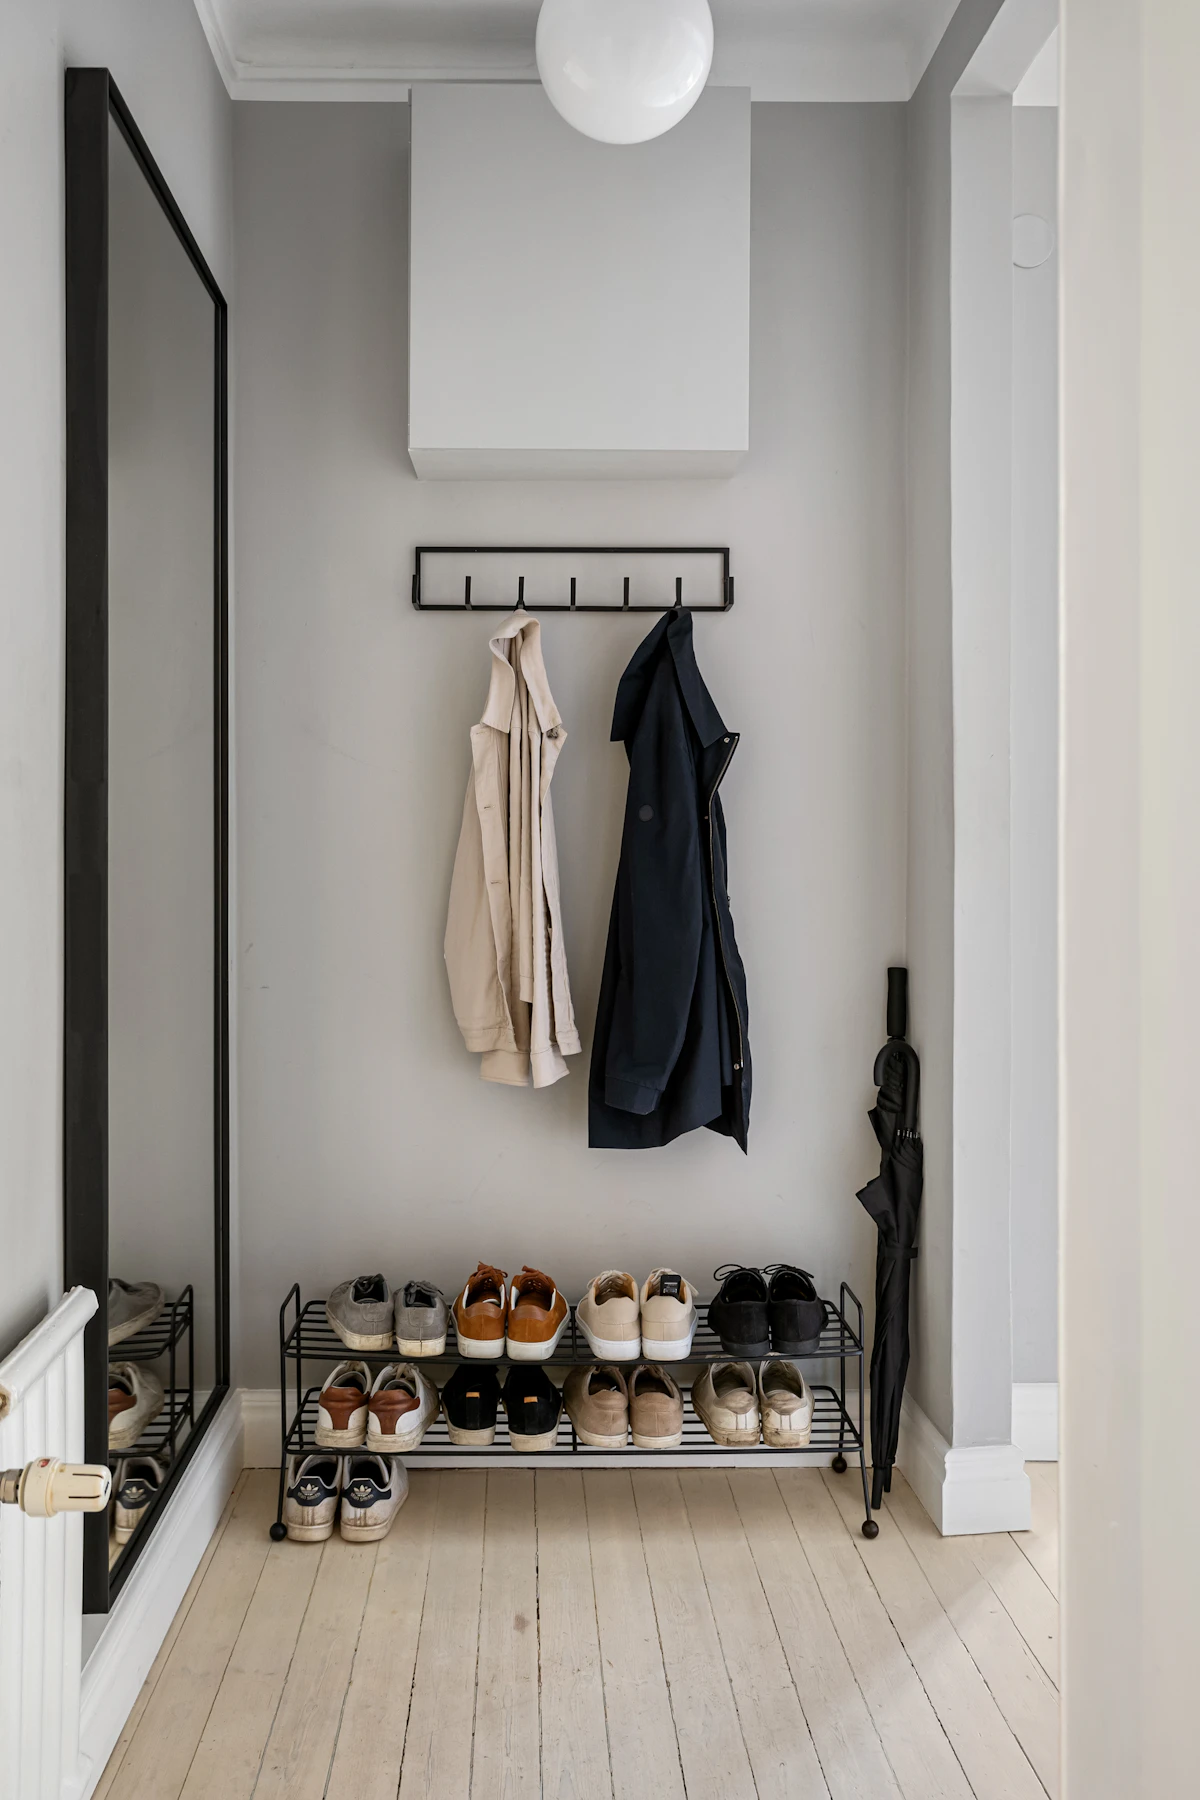
12. Rotate Shoes by Season Instead of Expanding the Entryway
Seasonal rotation is the simplest way to keep a small entrance from growing storage furniture over time. Move sandals out when cold weather settles in; move insulated boots out when they are no longer in regular use. Keep transitional pairs only while the weather actually requires them.
That same active-versus-off-season logic is useful for coats and accessories in the small entryway organization without a closet guide.
13. Store Off-Season Shoes Under the Bed
If the bedroom has usable clearance, under-bed bins or low drawers can hold clean, dry off-season footwear without consuming entryway space. Measure the actual clearance under the bed before buying containers, including any center supports or low frame sections.
Keep frequently worn shoes near the door and reserve harder-to-reach under-bed zones for pairs you do not need every day. Our under-bed storage guide covers container choice, clearance and access in more detail.
14. Give Tall Boots a Separate Upright Zone
Tall boots often fit poorly in slim tilt-out cabinets and low racks. If you wear them regularly, reserve a section of an open rack with enough vertical clearance or keep them on the wet tray until dry, then move them to a closet or bedroom zone where the shafts can stay upright.
Trying to force boots into a cabinet designed for low shoes wastes capacity and can make the cabinet harder to close.
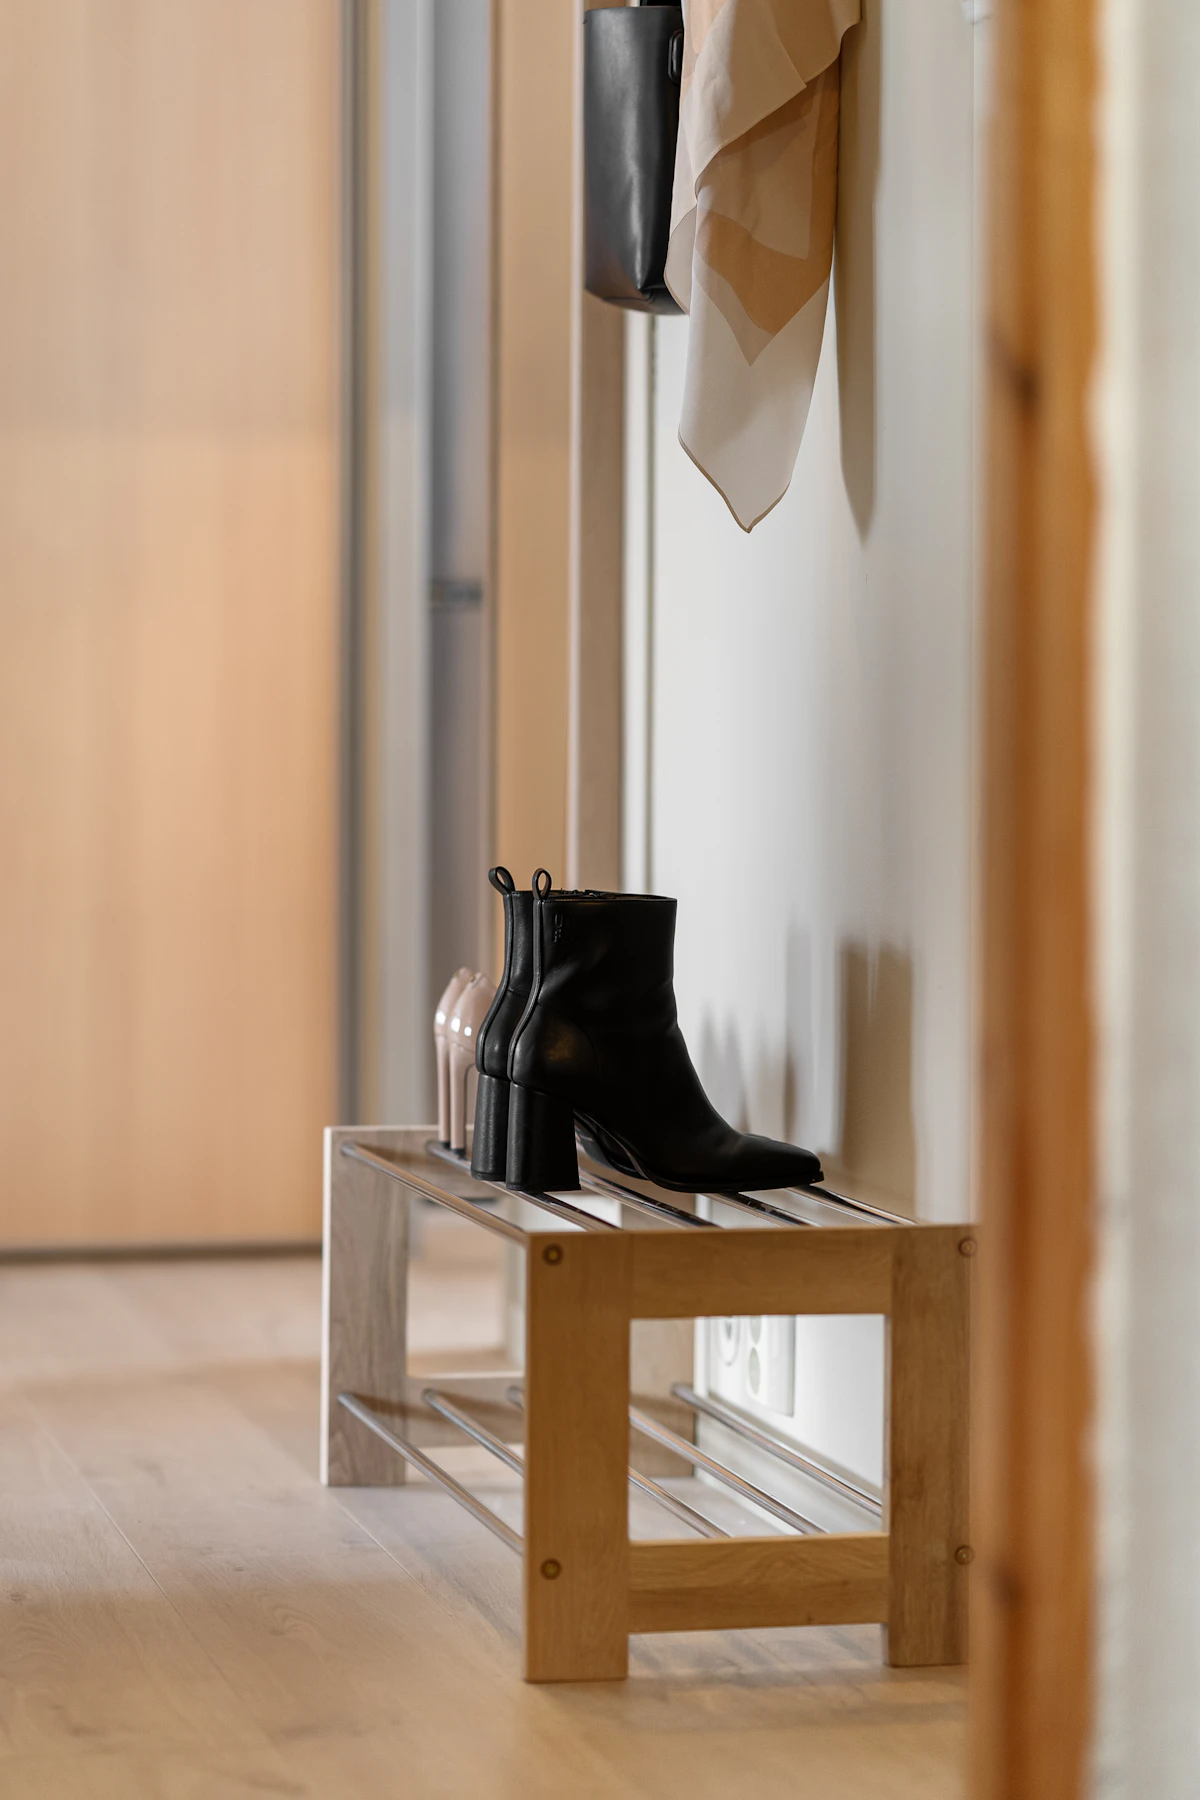
15. Keep One Empty Shoe Position
An entry system works better when it has a little slack. One empty slot gives a guest, a wet pair, or a newly active seasonal pair somewhere to go without starting a pile on the floor. If every shelf is packed on day one, the system has no room for normal life.
Small Apartment Shoe Storage Ideas: Quick Comparison
| Solution | Planning footprint | Drilling? | Best use |
|---|---|---|---|
| Slim tilt-out cabinet | Look for roughly 7–10 in. depth; verify the exact model | Often yes for wall-mounted or anti-tip installation | Low dry shoes in a narrow hall |
| Freestanding open rack | Use the shallowest depth that fully supports your largest shoes | No, unless manufacturer requires anchoring | Flexible daily storage and airflow |
| Storage bench | Usually needs substantially more floor depth than a slim cabinet | Usually no; check stability guidance | Entries wide enough to benefit from seating |
| Boot tray | Size to active wet pairs, not the full shoe collection | No | Rain, snow, muddy or damp footwear |
| Under-console baskets | Limited by console width and pull-out clearance | No | Dry everyday pairs in an existing drop zone |
| Vertical shoe tower | Small floor width; more wall height | Maybe; follow anti-tip instructions | Short usable wall with little horizontal room |
| Over-door organizer | No floor footprint | No | Light, clean shoes when door clearance allows |
What to Avoid in a Narrow Entryway
- Buying by capacity alone. A “large-capacity” organizer is useless if it steals the walking route.
- Ignoring the open door. Measure with the door in motion, not only when it is closed.
- Closing away wet footwear. Give damp shoes an open drying stage first.
- Assuming slim cabinets fit every shoe. Measure the largest footwear in your household.
- Using tall furniture without the required stability measures. The U.S. CPSC advises following manufacturer instructions and securing top-heavy furniture where applicable; its Anchor It guidance is a useful safety reference.
- Keeping all seasons by the door. Move true overflow elsewhere instead of adding another rack.
Final Takeaway
The best shoe storage for a narrow apartment entryway is the one that preserves the door swing and walking route while holding only the footwear you actually use. Start with measurements, choose the shallowest stable solution that fits your shoes, keep wet pairs open to dry, and send off-season footwear to bedroom or under-bed storage. If the front door opens straight into the living room, next use our guide to create an entryway when your apartment has none.
Frequently Asked Questions
What is the best shoe storage for a very narrow entryway?
A slim tilt-out cabinet or a low open rack is often the first type to test. The better choice depends on your usable wall depth, shoe size, whether the unit requires wall fixing, and whether footwear needs airflow.
How do renters store shoes without drilling?
Use freestanding racks, boot trays, under-console baskets, over-door organizers that fit the door correctly, or under-bed bins for off-season pairs. Avoid copying a wall-mounted installation with adhesives unless the product is specifically designed for the surface and load.
Where should wet shoes go in a small apartment?
Put them on a washable tray or open rack where they can drain and dry without blocking the door. Move them into a cabinet only after they are dry enough for enclosed storage.
How many pairs of shoes should stay near the front door?
Keep only the pairs used in the current rotation. Set a physical household limit based on your available rack or cabinet rather than trying to store the full collection in the entry.
Can I store shoes under the bed instead of in the entryway?
Yes. Under-bed storage is especially useful for clean, dry off-season or occasion shoes. Daily pairs are easier to maintain when they remain near the entrance in a smaller active zone.