
8 Practical Ways to Organize Small Stacked Laundry Closets
Organize a stacked laundry closet with practical storage above, beside, and on the doors—without blocking vents, hoses, shutoff valves, or appliance service access.
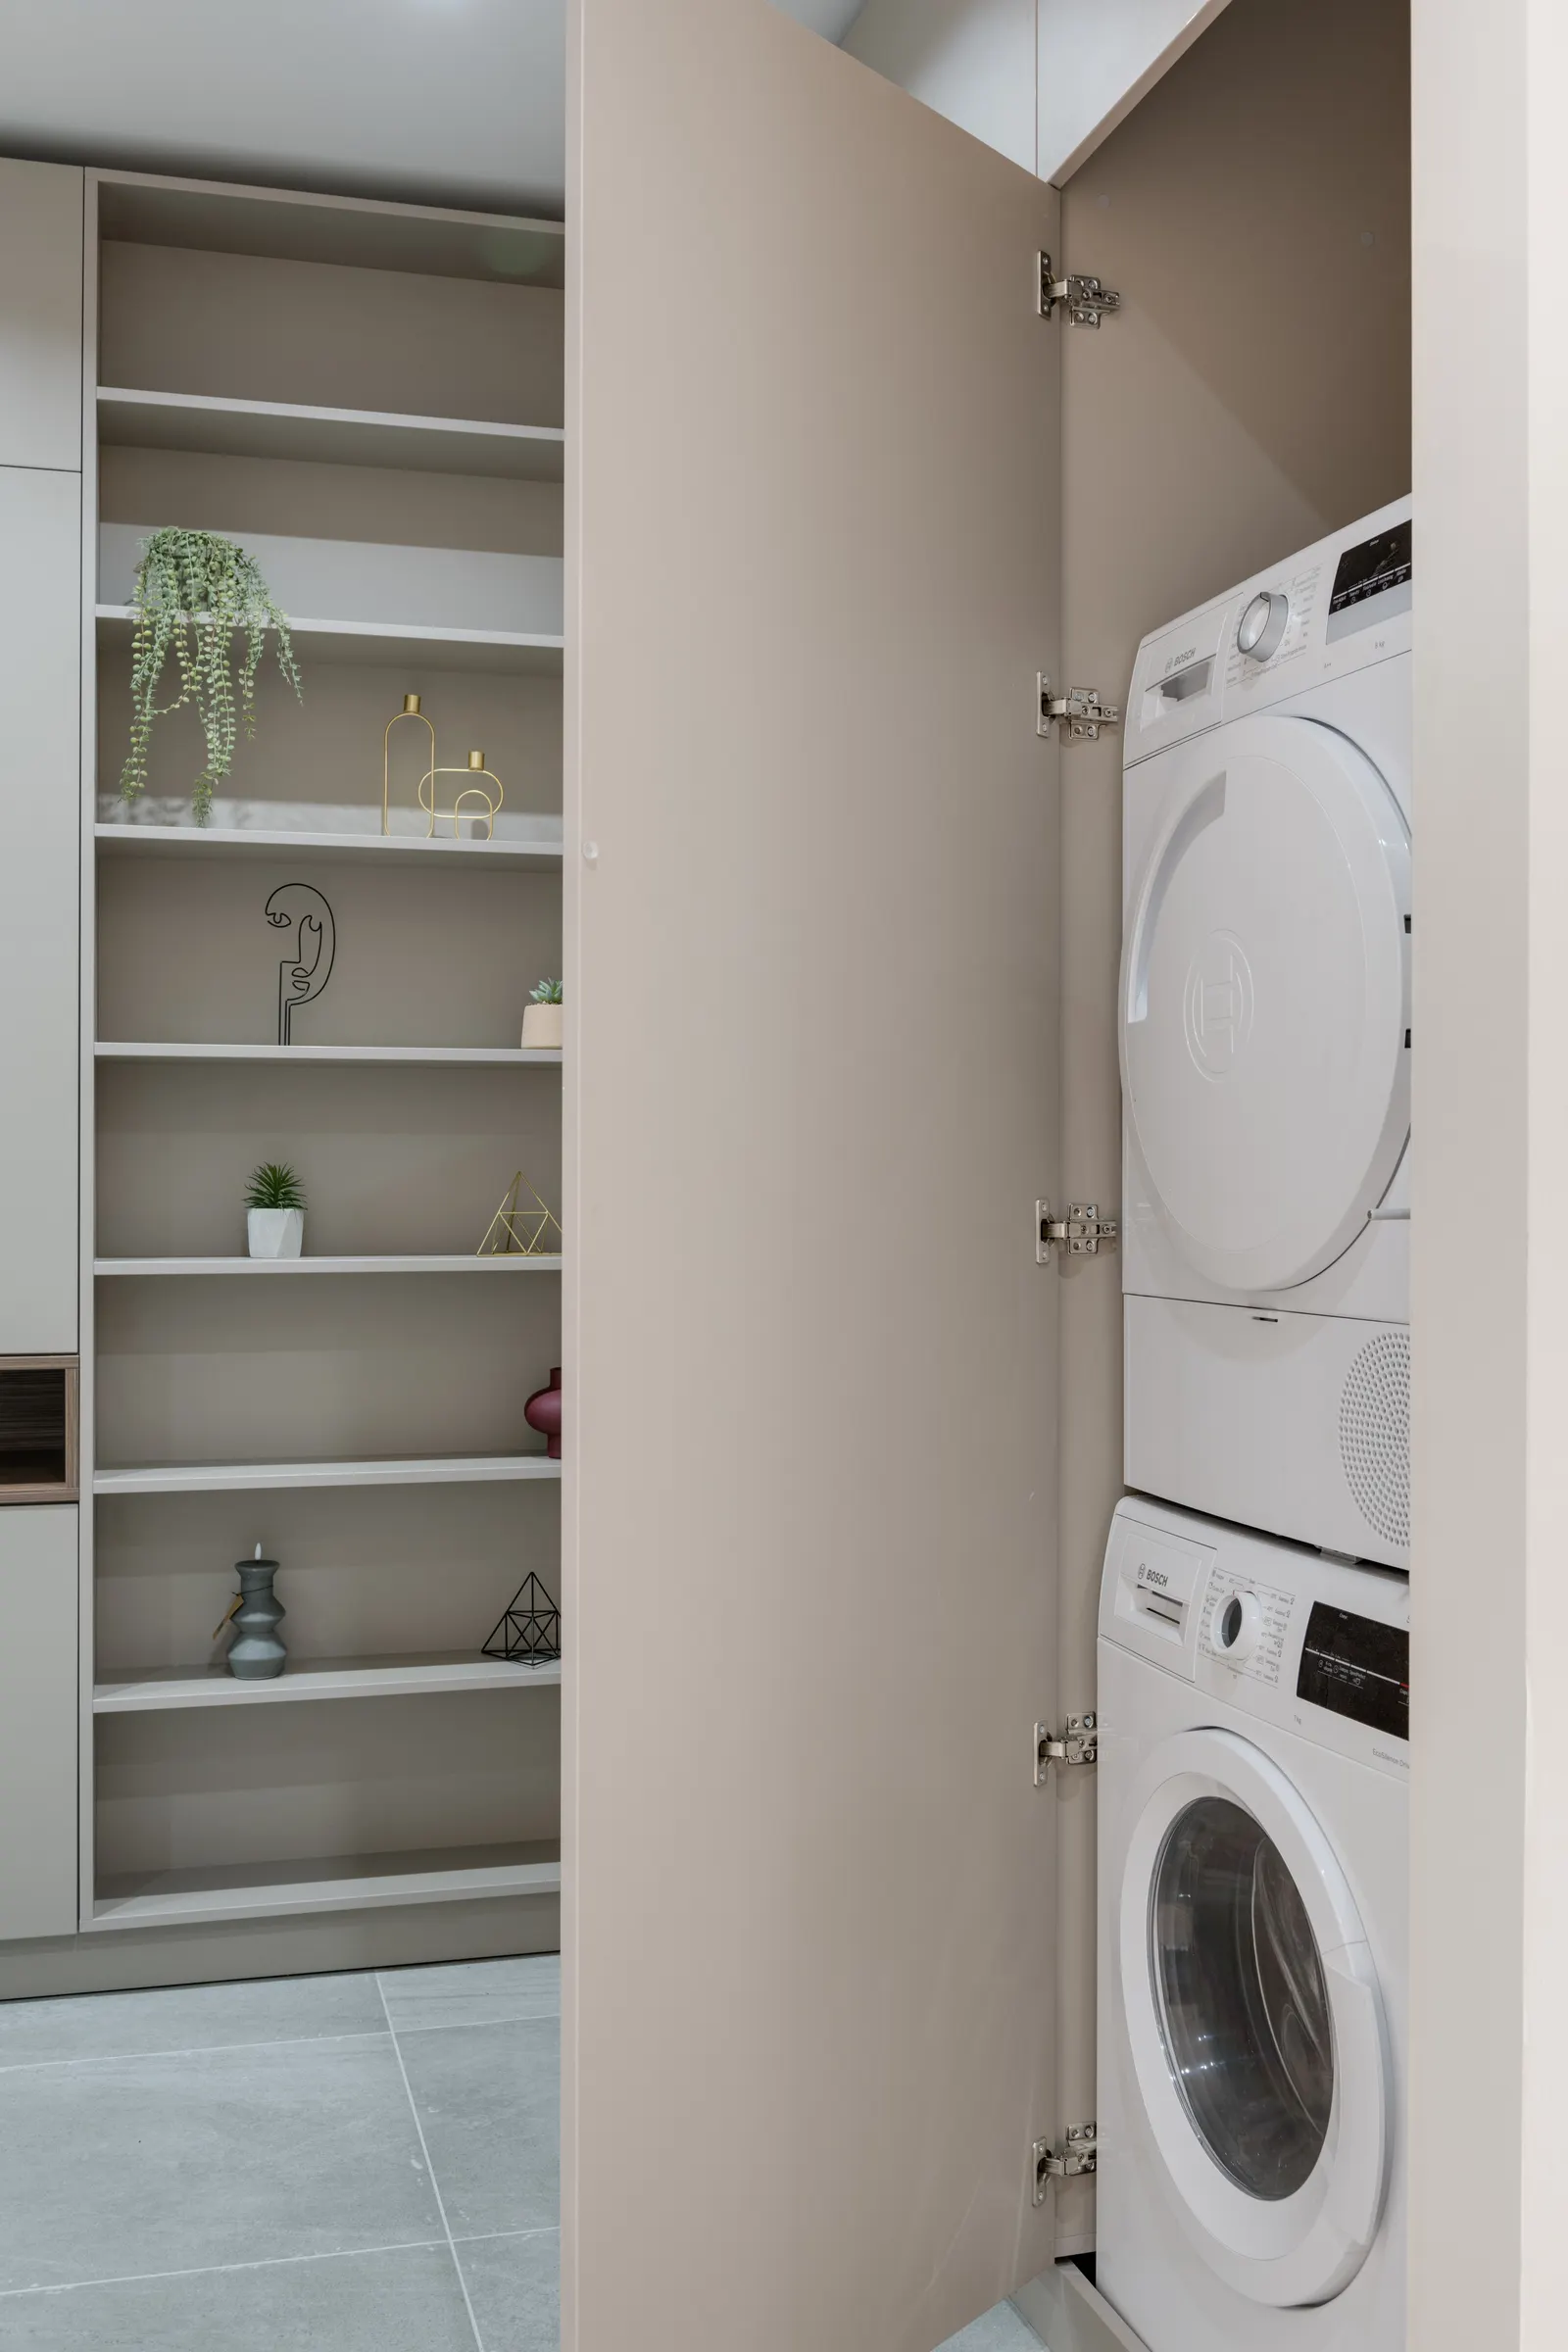
Small laundry closet organization works best when the stacked washer and dryer remain the fixed center of the plan. Keep the floor and service zone clear, then assign the usable areas above, beside, and on the doors by reach and frequency. Use shallow shelves or bins where doors can close, a narrow removable cart only where it will not crowd hoses or vents, and renter-friendly hanging storage for light items. Always follow the installation guide for your exact appliances before adding anything around them.
A stacked pair saves floor area, but it creates a tall appliance column that is awkward to organize around. The most useful setup is not the one with the most containers. It is the one that lets you load the washer, reach everyday supplies, open both machine doors, and access shutoff valves without moving half the closet.
Plan small laundry closet organization around appliance access
Start with the appliance manual, not a storage product. Stacked machines vary in width, depth, door swing, venting, utility connections, and required clearances. A shelf that fits one laundry center may violate the installation instructions for another, so use the model number to find the exact manufacturer guide.
With the closet empty, open both appliance doors fully. Mark the door arcs with painter’s tape on the floor and note where a hamper, cart, or wall hook would interfere. Locate the electrical receptacle, water shutoffs, drain, gas valve if applicable, and dryer exhaust connection. Each must remain reachable for routine checks and service.
Also check how the stacked pair is secured. A front-loading washer and dryer sold as separate units generally require a manufacturer-approved stacking kit; do not treat a shelf, tension rod, or anti-tip strap as a substitute. If you rent, ask the property manager before changing the installation.
Five-minute fit check
- Measure the clear width beside the appliance at the floor, middle, and top.
- Measure from the appliance face to the closed closet door.
- Test the washer door, dryer door, detergent drawer, and lint filter.
- Photograph the utility connections before covering the area with storage.
- Write the machine model numbers inside the closet or in your phone.
If your project is broader than the stacked setup, use the small laundry room organization guide for side-by-side machines, open rooms, and general planning. The steps here stay focused on the narrow zones around a vertical appliance pair.
Choose laundry closet storage by zone, not by trend
A useful organizer has to fit both the available space and the way you reach it. The comparison below helps narrow the options before you drill, assemble, or buy bins.
| Storage zone | Best use | Good fit when | Renter-friendly? | Main drawback |
|---|---|---|---|---|
| Above the dryer | Backstock, empty hampers, light seldom-used items | The manual allows clearance and items can be reached safely | Sometimes; a freestanding surround avoids holes | Often too high for daily detergent |
| Beside the stack | Daily detergent, stain care, laundry bags | A true side gap remains without crowding utilities | Yes, with a removable cart or narrow shelf | Can obstruct shutoffs or appliance removal |
| Inside a solid door | Lint tools, clothespins, mesh bags, empty tote | The door has enough closing clearance | Yes, with an over-door organizer | Can swing, rattle, or overload hinges |
| Side wall | Ironing board, drying hangers, laundry bag | Wall storage stays behind the appliance face | Some options are adhesive or tension-mounted | Adhesive may fail in heat or humidity |
| Floor in front | Temporary hamper during a load | It is removed after use | Yes | Blocks doors and service access if left in place |
Use the space above the dryer for light, low-frequency storage
The area above a stacked dryer looks like prime storage, but it is usually the hardest place to reach. Reserve it for an empty folding basket, extra paper laundry bags, a small sewing kit, or sealed backstock that an adult can retrieve safely. Daily detergent belongs lower, where pouring or lifting does not happen above shoulder height.
For a built-in shelf, confirm the required top and side clearances and the approved closet ventilation in the appliance manual. Keep a route to any shutoff, outlet, or connection. Do not bridge a shelf directly onto the appliance; vibration and future servicing make independent support important.
A shallow shelf is often more useful than a deep one
A deep shelf can hide supplies and tempt you to stack heavy containers over the machine. A shallow shelf keeps the front row visible and is less likely to project into the door opening. Before installation, mock up the shelf depth with cardboard and close the bifold or swing door.
Use one or two handled bins rather than a row of small containers. The handles let you bring the full category down to eye level instead of feeling around overhead. Label the front with a plain category such as “backstock” or “mending,” not a decorative label that obscures safety instructions.
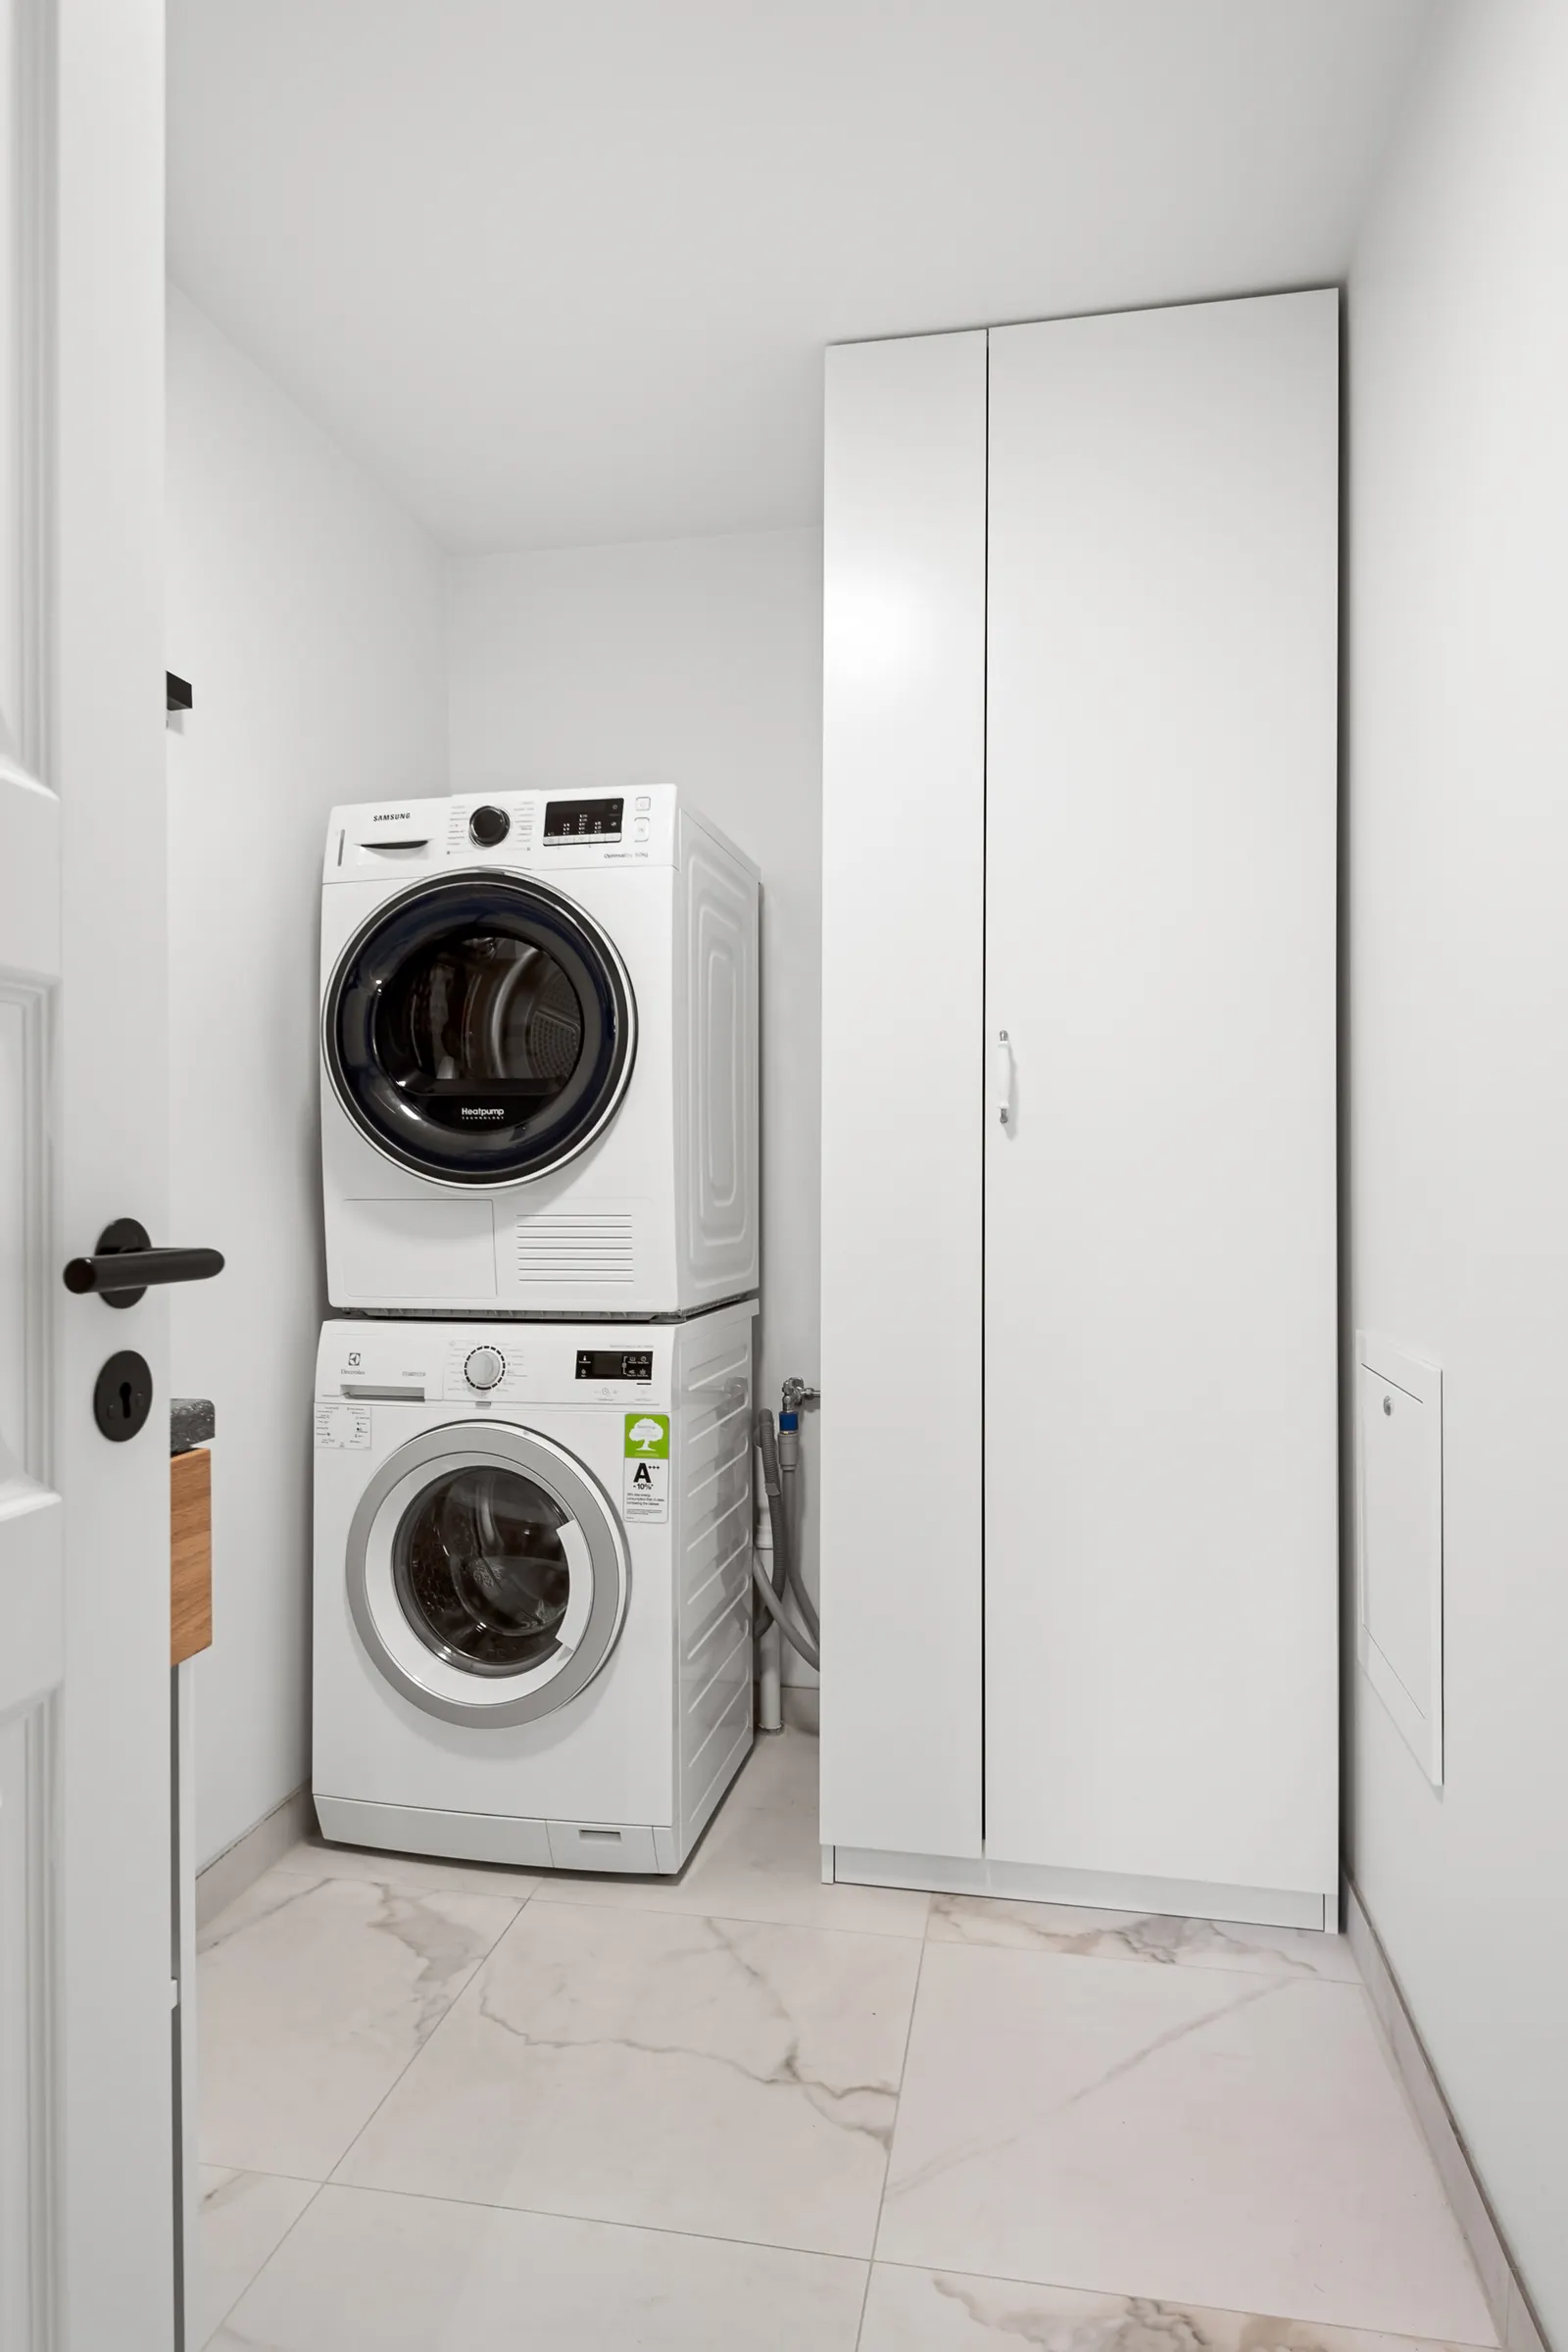
Turn a narrow side gap into removable storage
The side gap is the most valuable zone when it is wide enough for a slim cart or freestanding shelf and not needed for connections. Measure it at several heights; walls, trim, hoses, and machine sides are rarely as straight as a product photo suggests.
A rolling cart works for households that need detergent at waist height. Choose one that can roll completely out for cleaning and service, and avoid loading it so heavily that it becomes difficult to move. Put frequent-use detergent and stain treatment on the most accessible level, then washing bags or dryer balls below.
Leave the utility side open
If valves, a drain, the dryer vent, or a gas connection occupy one side, treat that side as a service lane. Use the opposite wall or door instead. Concealing a valve behind a tightly fitted cart saves a few inches until a leak or repair makes every second and every inch matter.
A wall-mounted rail can work when the gap is too narrow for furniture. Mount hooks or small baskets only where they will not rub against the machine. Drilling near plumbing or wiring is not a casual project; renters should get permission, and any uncertain wall should be checked by a qualified installer.
Use one portable caddy for supplies that travel
If the closet cannot hold a full product assortment, keep only the current detergent and stain tool there. Store the remaining laundry products in a handled caddy in a secure nearby location. This is especially practical in an apartment where supplies move between an in-unit closet and a utility sink or shared drying area.
For a location-by-location plan—including shared laundry rooms and apartments without in-unit machines—see the companion guide to storing laundry supplies in a small apartment.
Use closet doors for light, flat items
A solid swing door can hold an over-door rack, but the rack must clear the appliance controls and close without pressing against them. Keep the load light: mesh wash bags, clothespins, a lint brush, stain-removal reference card, and an empty reusable laundry bag are better choices than large detergent bottles.
Bifold and louvered doors need more caution. A rigid organizer can prevent folding, add strain, or cover louvers that are part of the appliance ventilation plan. Treat louvered openings as functional until the exact installation instructions say otherwise; do not cover them with fabric pockets, signs, or hanging clothes.
Control swinging and rattling
Test the organizer through several open-close cycles and a washer spin cycle. Add removable bumpers where the rack touches a solid door, and secure loose hooks according to the organizer instructions. If it still strikes the machine or doorframe, move it rather than improvising with tape that may fail.
Build a renter-friendly setup that can leave with you
For renters, the best small laundry closet organization usually comes from three movable pieces: a narrow cart, a handled supply bin, and an over-door holder that fits without preventing closure. These solve the daily workflow without drilling into a utility wall.
A tension rod can hold empty hangers or a very light drying item only if the closet has two sound, parallel surfaces and the rod manufacturer approves the use. Do not place a tension rod where a fall could strike appliance controls or connections. For more wall-safe options, compare the methods in the renter-friendly wall storage guide.
Adhesive hooks are useful for light mesh bags, but warm, humid laundry spaces are demanding. Follow the adhesive maker’s surface, weight, cure-time, and removal instructions, and never suspend chemicals or breakable objects from them.

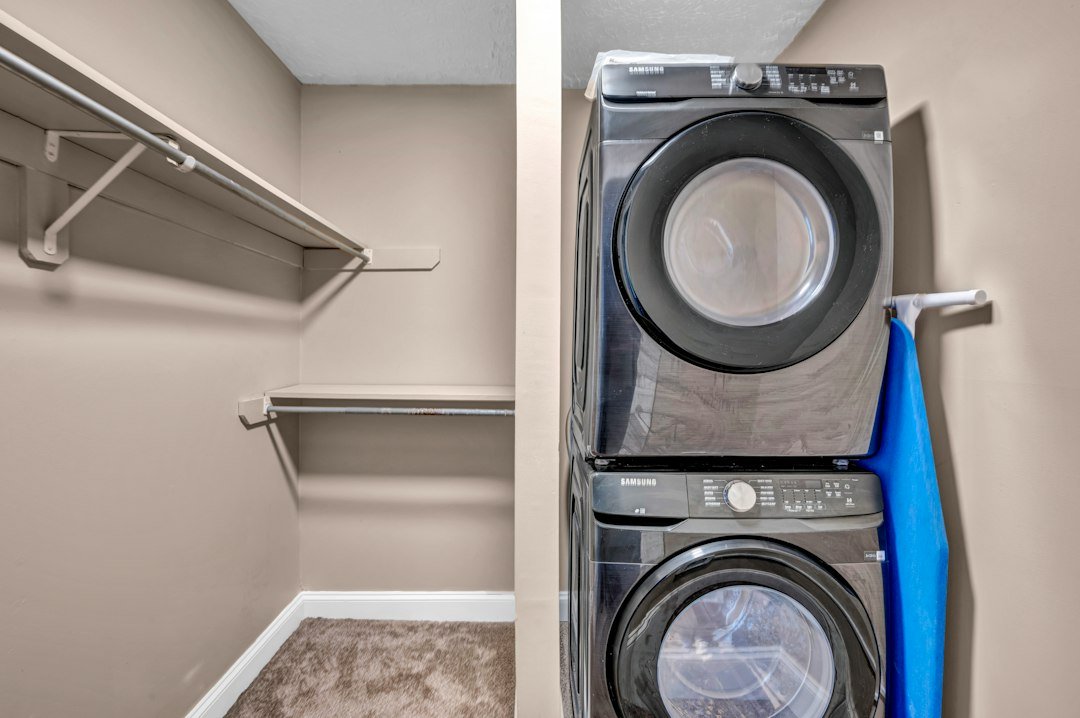
Match the organization plan to the closet layout
Layout 1: stacked pair with a narrow side gap
Use a removable three-tier cart only if it clears the utility lines. Put detergent on the middle or top tier, depending on child access; keep clothespins and mesh bags below; place sealed backstock on an approved high shelf. The cart should roll out in one motion.
Layout 2: appliance stack fills the full width
Skip the squeeze-in cart. Use a solid door for light flat storage, or keep a supply caddy in a nearby hall closet. An over-appliance shelf is an option only if the manual, reach, and door clearance all work. This layout benefits more from reducing what lives in the closet than from adding hardware.
Layout 3: extra depth in front, no side space
Do not convert the front clearance into permanent hamper parking. Use a collapsible basket that hangs flat on a solid door or stores elsewhere after the load. The path in front of the machine needs to remain open for loading, lint-filter access, and eventual service.
Layout 4: louvered bifold doors
Keep the doors and louvers clear. Use the side wall behind the door only if a shallow organizer does not interfere with folding. If that fails, make the closet a machine-only zone and create a compact laundry station nearby using ideas from small-apartment storage solutions.
Store items by how often—and how safely—you use them
- Every load: current detergent, stain treatment, and mesh bags at an easy adult reach.
- Weekly: dryer balls, lint brush, washer-cleaning product, and spare laundry bag together in one bin.
- Occasionally: sealed refill products and mending supplies on an upper shelf.
- Elsewhere: bulk paper goods, unrelated cleaners, tools, and anything that blocks appliance access.
Keep laundry products in their original labeled containers and follow the label’s storage directions. The U.S. Consumer Product Safety Commission’s laundry packet guidance emphasizes keeping packets out of a child’s sight and reach. A high shelf is not automatically child-resistant if a chair or shelf provides climbing access; use secure storage appropriate to your household.
What to avoid in a stacked laundry closet
- Storage on top of the dryer: loose items can shift from vibration and make service harder.
- Blocked louvers or closet gaps: these may be part of the required ventilation for the installation.
- A cart pressed against hoses or venting: contact can kink, crush, or hide a problem.
- Heavy bottles overhead: they are awkward to lift and can spill onto controls or the person below.
- Permanent storage in front of the machine: it interferes with doors, lint-filter access, and repair work.
- Generic clearance advice: dimensions and venting requirements differ; use the manual for the exact model.
- Unlabeled decorative detergent containers: retain the original label and directions, and never use a food or drink container.
Make the closet easy to reset after every load
The strongest setup has an obvious end state: products back in one caddy, mesh bags on one hook, lint disposed of, and the front clearance empty. If the routine requires restacking several bins or moving a permanent hamper every time, reduce the number of items stored there.
Take one photo after the first successful laundry cycle. Use it as the reset reference for everyone in the household. After a month, remove anything you did not use and check that the cart or bins have not migrated toward vents, hoses, or doors.
Frequently asked questions
Can I put shelves above a stacked washer and dryer?
Often, yes, but only after checking the installation guide for the exact appliance and the shelf’s support requirements. The shelf should be independently mounted, should not rest on the dryer, and must not block ventilation, connections, controls, or future service access.
What can I store beside a stacked washer and dryer?
A removable slim cart can hold current detergent, stain products, mesh bags, and small laundry tools when the side gap is not needed for hoses, valves, venting, or the electrical connection. Keep the cart easy to remove and do not wedge it tightly against the appliance.
How do I organize a laundry closet with no side space?
Store only the most-used supplies in a light over-door organizer on a compatible solid door, or keep them in a handled caddy nearby. Use an upper shelf only when it is safe to reach and compatible with the appliance instructions. Leave the front clear instead of parking a hamper there.
Are over-the-door organizers safe on laundry closet doors?
They can be suitable for light items on a sturdy solid door if the door closes fully and the organizer does not hit the machines. Avoid covering louvered ventilation and do not overload bifold doors or store heavy liquid products overhead.
How can renters organize a stacked laundry closet?
Use removable pieces sized to the real clearances: a rolling cart, one handled caddy, an over-door holder on a suitable door, and light-duty adhesive hooks used exactly as directed. Ask before drilling, and keep all appliance connections accessible.
Start with one clear service lane
Before adding storage, remove everything and protect the appliance’s door swing, venting, utilities, and removal path. Then add one reachable home for daily supplies—usually a side cart or nearby caddy—and one upper spot for light backstock. That simple sequence produces a safer, easier-to-reset laundry closet than filling every visible gap.